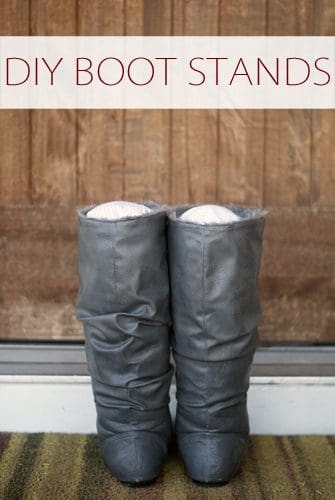
My mom actually bought my sister and I each a pair of boot stands/inserts last year for Christmas, and — because I’m a blogger — my first thought when I saw them was, “Hey, we could make these for 101 Days of Christmas next year!”
It turns out that it’s not quite as simple of a sewing project as I expected, but after a few tries, I figured it out. And you know what that means: If I could do it, anybody can.
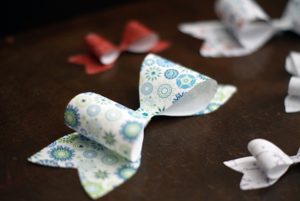
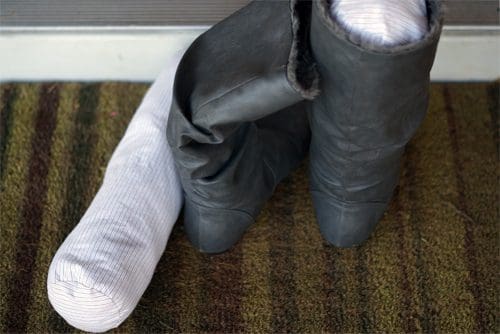
These are a fun gift for the boot lover in your life. These padded inserts slip right inside the boot and keep them standing straight when you’re not wearing them so that the leather (ahem, or pleather) doesn’t get bent or worn out. And you can make them out of any fabric you’d like so they match your recipient’s personality!
This type of tutorial is not my strength, and I was not able to take pictures as I went, so I’m going to do my best to describe this process in as much detail as possible. If you’re still confused, watching this YouTube video might help. We’re not doing the exact same kind of project, but many of the techniques she uses are the same!
Supplies:
- fabric
- compass
- measuring tape
- scissors
- pins
- sewing machine
- batting
Directions:
Start by cutting out four circles from your fabric — two for each boot stand. These need to be 4″ in diameter plus a seam allowance of about 1/2″ all the way around. You can either find a bowl that’s 5″ across to trace or use a compass set to 2-1/2″ to draw a circle.
Then, cut out two rectangles that measure 13″ x 17″ each.
Pin one circle at a time to a rectangle along the shorter (13″) side. To do this, place the fabric right side together so that the edge of the circle is lined up with the edge of the rectangle. Pin in place and then begin curving the rectangle so that it continues to line up evenly with the circle, pinning all the way around. Repeat on the opposite edge of the rectangle and then sew both pieces in place with a 1/2″ seam allowance, removing the pins as you go.
With both ends sewn in place and the boot stand still right sides together, line up the open edges of the rectangle (along the length of the boot stand) and pin together. Sew together, leaving about 2″ open at the bottom.
Turn the boot stand right side out and stuff with batting.
Fold the edges of the fabric in at the opening and stitch closed.
Variations:
- Add a ribbon loop or tab at one end by inserting it between the circle and rectangle before you pin and stitch them together.
Related Projects:
- Fleece Fringe Scarf
- Fabric Gift Bags
- Easy Sew Soap Pockets
- DIY Fleece Scarf with Pockets
Join us as we celebrate 101 Days of Christmas with new DIY projects, gift ideas, traditions, and more every day from now through Christmas!