
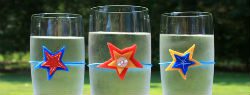
The following post is from Janel of Life with Lucie and Ella.: DIY: Fun & Festive Felt Cup Identifiers
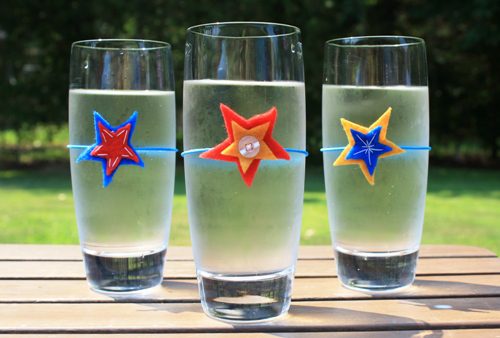
You’ve heard of wine glass identifiers, right? They’re used frequently at parties to help distinguish guests’ wine glasses from one another. However, why don’t we use cup identifiers? I suppose a black Sharpie marker solves the problem when you use disposable cups. But what if you are using real glasses? DIY cup identifiers solve the problem of whether you use real glasses or disposable cups — plus, they’re just plain fun! With a bit of creativity, you can create custom cup identifiers that will reinforce your party’s theme in a functional way.
Not having a party any time soon? Cup identifiers work for everyday use as well! Assign a unique one to each person in your household to reduce the number of cups your family uses daily.
When creating decorations for cup identifiers, I find that felt is a great medium to use. It’s inexpensive, comes in a variety of colors, and doesn’t fray when cut. It is also pretty durable, so you should get quite a bit of life out of your creations.
Make Fun & Festive Felt Cup Identifiers
Supplies:
- Felt in a variety of colors to suit your theme or decor
- Fabric scissors
- Needle & thread
- Glue gun & glue sticks
- Stretchy hair bands
Directions:
1. Double-check to ensure the elastic bands fit easily on whichever cups you use.
You don’t want to go through all of the work to create beautiful cup identifiers only to find out they won’t fit or stay on your cups! You can usually purchase inexpensive hair bands at the dollar store. The ones that I used were only $1 for 100 of them.
2. Get creative and craft your felt decorations.
If you’re making multiple decorations of the same shape, cut a template from paper, trace it onto felt and cut out your felt pieces. Glue, stitch, and embellish as you wish.
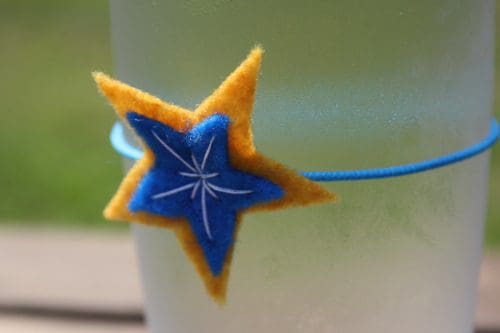
Of course, remember that each one should be unique and easily distinguishable. You can do this by:
- Using a variety of shapes and colors
- Creating multiple layers – either stitch them together with thread or use hot-melt glue
- Creating visible stitches of contrasting colors
- Adding rhinestones, buttons, or other embellishments
Also, be sure not to make the decorations too large — you don’t want them to make it difficult to drink from the cup.
3. Attach the felt decoration to the stretchy hair band.
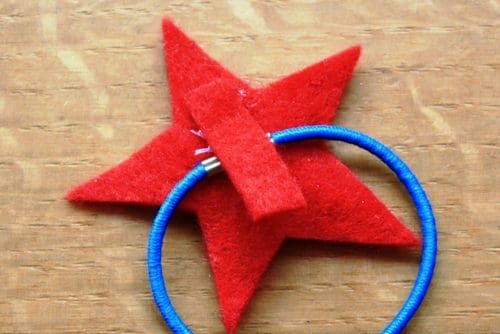
Don’t glue the decoration directly onto the hair band since this might prevent it from stretching correctly. Instead, take a small rectangle of felt, and glue one end to the underside of the decoration. Press firmly. Place the stretchy band between the rectangle and the decoration, and then secure the other end of the rectangle to the decoration with glue. If your hair bands have a metal connector like mine, you can (and should) glue the metal to the felt and under your rectangle. This will prevent the metal piece from scratching your drinking glasses.
Voila! No more mixed-up glasses!
If you were having a themed party, what type of decoration for cup identifiers would you create?
| Janel is a stay-at-home mom of two and a law school wife. Raised in a budget-conscious and do-it-yourself-minded family, she loves seeing something in a store or magazine and making her own version at home for less money. Janel blogs about motherhood, crafts, and recipes at Life with Lucie and Ella. | |