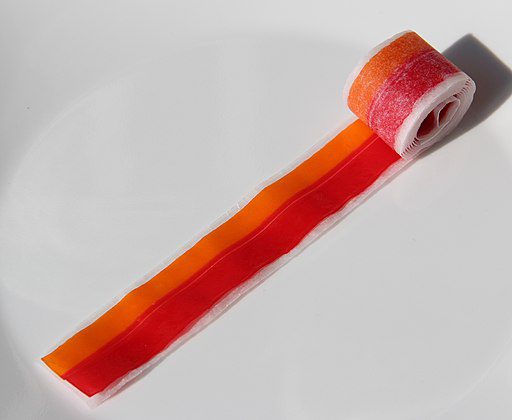
The following post is from Shaina of Food for My Family and Olmanson Photography: Make Your Own Fruit Rolls at Home

Whatever type of fruit snack catches your kids’ eyes, there’s a reason for it. Sweet and stretchy, flat, and colorful fruit is fun to eat, and in my experience, it’s even better if it’s rolled. I can’t count how many times my kids have gone gaga over a simple piece of cooked fruit that’s dried and then rolled up in paper or plastic.
Here at our house, we’re in the business of doing things like making our own ice cream, growing our own food, and avoiding the drive-thru. So, why wouldn’t we embark on the process of making our own organic rolled fruit snacks as well?
I mean, when they’re charging $3.99 for a box of 5 organic rolls, surely this could work in your favor. If nothing else, you’ll be a hero to your kids as you demonstrate exactly how it is that an apple becomes a flat piece of stretchy mess.

Here’s the recipe, along with the kid-friendly steps for when you want to get them involved and learning.
Rolled Fruit Leather
Ingredients:
4 cups fruit (apples, pears, peaches, apricots)
1 tablespoon honey or agave syrup (optional)
1 teaspoon lemon juice
1/2 cup water
1. Peel and dice the fruit, removing all seeds (unless you’re using berries).
Have children help peel the fruit using a fruit and vegetable peeler. Older children can help dice as well.
2. Add diced fruit and water to a stockpot and bring to a boil. Add in lemon juice and honey. Reduce heat to medium-low and continue cooking until fruit is cooked through and can easily be mashed.
Older children can be in charge of stirring the fruit occasionally as it cooks.
3. Using an immersion blender, puree the fruit until smooth.
All children like to push buttons; have them help you turn the blender on and off when appropriate.
4. On a parchment-lined cookie sheet or dehydrator tray, thinly spread out the puree between 1/8″ and 1/4″ thick.
Children can help by using a spatula to clean out the bowl and get every last bit of fruit puree, and then they can lick the spatula when they’re done, too.
5. Bake at the lowest oven temperature (150-180 degrees F) for 8-10 hours or according to the manufacturer’s directions in your dehydrator. Fruit should not be sticky enough to stick to you and grab on when touched.
Have kids set the oven timer or do the math on the clock to see what time the fruit needs to be checked.
6. Remove cookie sheets from the oven and allow them to cool slightly. Roll up from one end to the other depending on the kinds of rolls you’d like. For Fruit-By-the-Foot-style rolls, roll from short end to short end and cut 1″ pieces off the roll. For Fruit Roll-Up-style rolls, roll the long end and cut 3-4″ rolls off the large roll.
Have your children roll the finished fruit leather with you. They should be excited. It’s almost time to eat!
Do you have any homemade snack favorites that your kids love?
| Shaina Olmanson is the freelance writer, photographer, and home cook behind Food for My Family. Cooking daily with and for her four kids and husband, Ole, drives her desire to inspire other families to do the same. Shaina is also the author of Desserts in Jars and contributes regularly to a variety of online sites and traditional print magazines. |
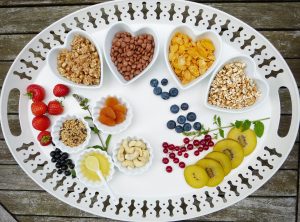
Featured Image by Thomson200, CC0, via Wikimedia Commons