This series was first run last year. I’m updating and reposting it now so that you have time to think through your needs and make an organizing plan before you begin packing away your Christmas decorations. Taking the time to organize your ornaments and other decor really does make a huge difference when it’s time to decorate the following year!
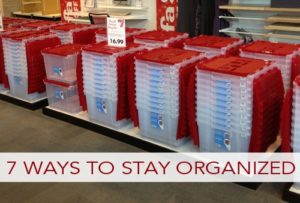
Now that we’ve thought through our storage needs and decided how we’re going to store our Christmas decorations, let’s look at a step-by-step guide to organizing and packing things up. These steps are optional, and I’ll share the pros and cons of each of them with you below.
Table of Contents
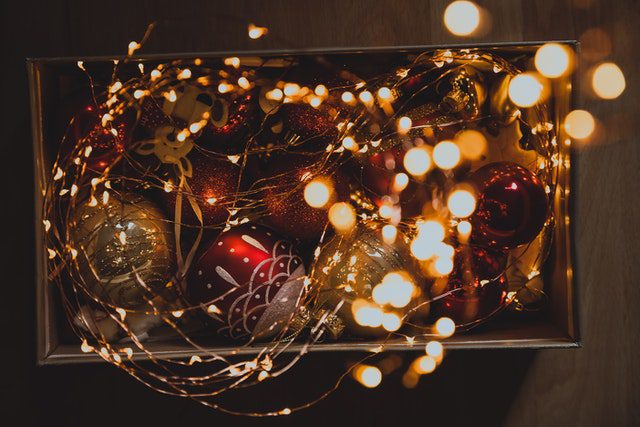
1. Lay out all of your Christmas decorations, including those that have been in storage (unless you’re already happy with the way those things are stored).
Pros: You’ll be able to see everything at once and organize it as you pack it away, so that you can group things together rather than having them scattered throughout the boxes.
Cons: If you have little kids, laying out all of your Christmas decorations at once with them around is a recipe for disaster. Also, if you lay it all out, you’ll need to be committed to packing it all away or else deal with the additional clutter until you get it done.
2. Group your items, so they’re easy to find and unpack as a group, making decorating easier next year.
For example, you might put your Christmas village in one bin, your knick-knacks in another, and your Christmas books and CDs in a third. Of course, you’ll want to be flexible because you won’t have the perfect amount of every item to fill a bin.
Pros: When you start decorating next year, you won’t have to empty out all of your boxes just to find the final piece to your manger or that missing stocking.
Cons: Again, this is an extra step and therefore one that takes extra time. If you’re tightly wound like me, you might also find it frustrating when you are still left with one piece that you can’t pack with the rest no matter how many different ways you repack them.
3. Look at your groups and get a basic plan for organizing how much will fit in each box.
Be sure to combine fragile items with softer items that can be used as padding (such as stockings, tree skirts, stuffed animals, linens, etc.).
Pros: You’ll have a basic idea of how you want to do things before you start packing.
Cons: Unless you are uniquely talented at such things, you won’t know for sure how things will fit until you get started. If you’re not willing to be flexible, you could end up frustrated.
That’s it! Now, you’re ready to start packing.
A few more tips as you go:
- Be sure not to put fragile items on the very bottom or very top of a box. If the boxes get dropped on one another or the ground, you want the padding to protect the contents!
- Make sure you label the boxes with more than a generic “Christmas Decorations” so that you can decorate in stages or scale back your decorating without having to dig through each box to see what it contains.
- If you use metal or ribbon ornament hangers, now is a great time to pick up an extra box at an after-Christmas sale. Store them with your ornaments so that you have enough when you start decorating next year!
Finally, it’s worth saying again — part of being organized is decluttering. Decluttering means thinking about what things you keep and why you keep them. It’s okay to keep a sentimental ornament from your childhood even if you don’t want to hang it on the tree, but you might consider giving away the cookie tin that your grandmother’s neighbor’s aunt gave you 12 years ago that you never used. Some of you are probably nodding your head in agreement, and some are clutching that tin a little bit tighter now. The decision is yours, of course. I’m just sayin’…
When do you plan to take your decorations down? Do you have a system for taking them down and packing them up, or do you just wing it?