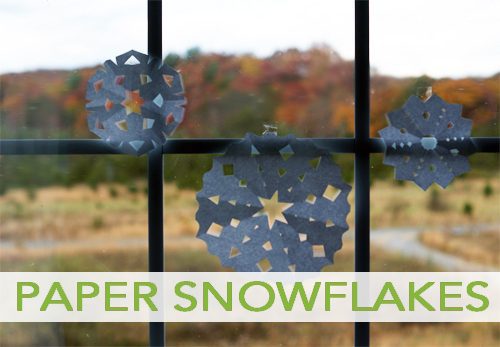
I love making paper snowflakes. There’s something magical about creating a design you can’t actually see and trying to picture how each cut will look when it’s finally unfolded.They never look quite like I expect, and — like the real things — each one is unique.
My girls love to make them as well, and since they’ve already started a collection, I have a feeling our windows will be full of them by the time the first snowflake actually falls outside!

Supplies:
- paper
- scissors
Directions:
If you’re starting with a rectangular piece of paper, fold one corner across the paper until the outer edges meet. Crease. Cut off the excess paper.
If you’re starting with a square paper, you’ll just start by folding it along the diagonal to form a triangle.
Fold the triangle in half again to form a smaller, four-layer triangle.
Fold that triangle into thirds. Hint: It’s easier to make even folds if you fold one third forward and one third backward rather than trying to fold both flaps in the same direction.
Cut straight along the bottom so that all of the layers are the same size and shape.
Cut along the edges to create your snowflake design. The wide end of the triangle (A) is the outer edge of the snowflake. The point (B) is the center. The sides (C & D) form the interior design.
Try it with different colors and sizes to create a collection of snowflakes for your windows!
Related Projects:
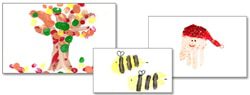
Join us as we celebrate 101 Days of Christmas with new DIY projects, gift ideas, traditions and more every day from now through Christmas!