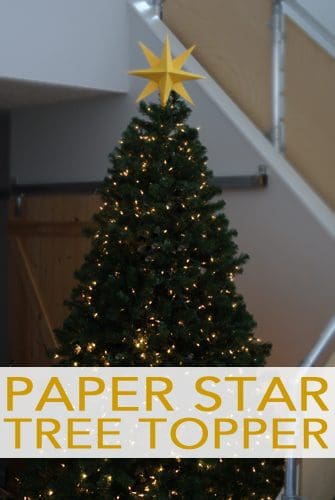
Our tree topper is actually a sweet cherub angel we’ve had since we got married that I won’t let my husband replace (no matter how tiny she looks on top of our 9′ Christmas tree!), but when I started making paper star ornaments back in September, I had a feeling that a big paper star would make a great tree topper, and it really does!
These stars are easy to make, and while I love the bright yellow star, you could really use any color or pattern you wanted. Because it’s inexpensive to make, you can update it every year without feeling guilty.
Note: This tree topper works best for a tree that’s set in a corner because the sides aren’t nearly as pretty as the front and back.

Follow the same steps above to make your tree topper; just don’t add a string at the end .
Supplies:
- 12″x12″ scrapbook paper
- scissors
- hot glue
Directions:
Fold paper in half diagonally (wrong sides together).
Rotate 90 degrees and fold in half along opposite diagonal.
Fold in half (right sides together).
Rotate 90 degrees and fold in half again.
Cut slits along each of the straight folds, a little less than halfway to the center.
Fold the corners in, lining them up carefully with the diagonal fold.
Overlap the flaps, using hot glue to secure the points.
Repeat. Use hot glue to attach the two halves, leaving space in one of the corners for the top branch of the tree,
Related Projects:
- Fabric Scrap Candy Cane Banner
- Snowy Windows
- Grapevine Wreath
- 3-D Paper Star
Join us as we celebrate 101 Days of Christmas with new DIY projects, gift ideas, traditions and more every day from now through Christmas!


