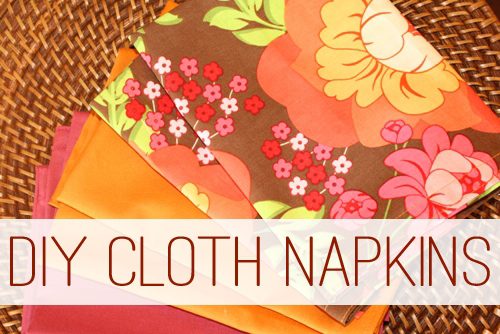
The following post is from Janel of Life with Lucie and Ella.: Go Green or Get Fancy with DIY Cloth Napkins
Whether you want to be a little bit “greener” or just want to set a pretty table for a special meal, cloth napkins are a great DIY project.
Making your own cloth napkins is a perfect way to use fabric that has been recycled, purchased from the remnant shelves, or is leftover from a previous sewing project. It is also a great solution when there is a particular “look” that you want but just can’t find in the stores.
Cloth napkins are quick and easy to make. If you’re new to sewing, cloth napkins are a great place to start. Plus, you can enjoy them every day, so the time and energy that you put into them will be worth it.
Don’t stress out about making your cloth napkins “perfect.” Although my template method does make it easier to make them more uniform in size, who is really going to measure your napkins or inspect them for a perfectly straight stitch? Most likely, no one. Just make sure that they are large enough and absorbent enough to do their job, and you’re good to go. (Tip: Don’t use fabric softener on any fabric that you actually want to be absorbent.)
How to Make Cloth Napkins:
Supplies:
- posterboard for template
- pen & yardstick
- scissors
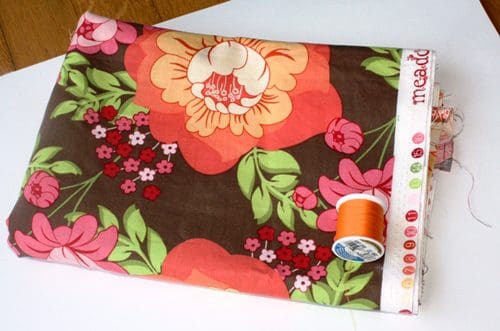
- fabric (cotton and linen are good choices)
- iron & ironing board
- straight pins
- thread
- sewing machine
Directions:
Decide on the size you would like your finished napkin to be — 20-inch is nice for formal dining, but smaller works well for every day too. For this project, I used leftover material, so my finished napkins were 15-inches square. Typical paper napkins are 12-inches squares. Choose what works for you — that’s the beauty of DIY!
To make it easier to prepare the fabric, you can make a square template out of poster board. The template should be 2-inches larger than you’d like your finished napkin to be. For a 20-inch napkin, you’ll need a 22-inch square template. Use the posterboard, yardstick, and pen to create a square template and cut it out with the scissors.
Wash, dry, and iron the fabric. Use a pen to trace the template onto the fabric. Cut out your fabric squares.
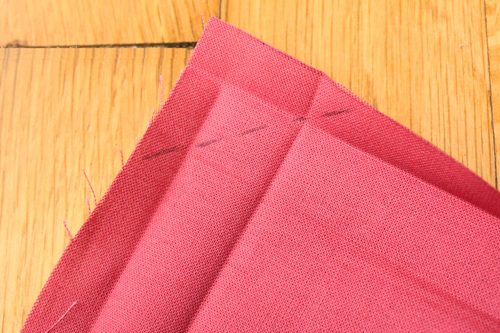
Once all of your fabric squares have been cut, trim down the template by one inch — a 22-inch square template should become a 21-inch square. This will help you iron your hems to the same size. Place the template in the center of a fabric square (wrong-side up) on an ironing board. Fold the edge of the fabric over the edge of the template and iron. This will leave you with a crease about 0.5 inches from the edge. Repeat on each edge of the napkin.
Remove the template and fold each edge over again another 0.5 inches and iron.
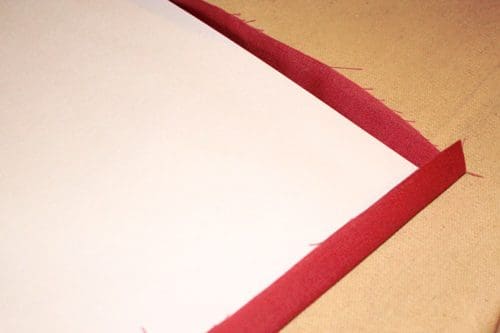
To make it easier to finish the edges of the napkin, cut off the corners of the fabric square. The creases left by the iron will give you a guide on where to cut. Cut as shown along the dotted line in the photo below:
For each edge, fold over twice and pin. Secure the corners and the edges with straight pins. The corner should fold up to look like the photo below.
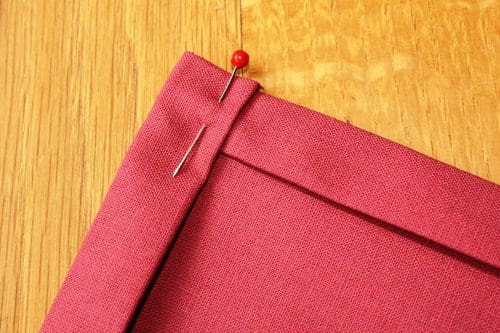
Make a straight stitch along the fold for the hem all around the square with your sewing machine. Finish the edges by sewing another straight stitch close to the edge of the napkin. Snip threads.
Related Posts:
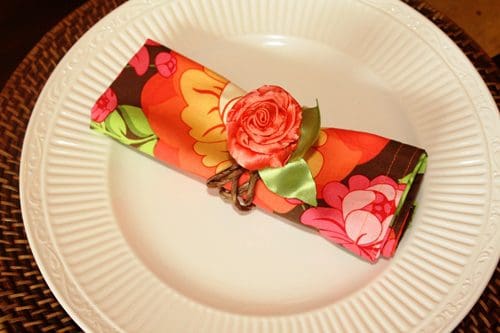
- Dress Up Candle Holders with Beads (Instead of using the beaded elastic tutorial for a candle, follow the same process to make a pretty beaded napkin ring!)
- Make some napkin rings to go with your homemade napkins
Do you ever use cloth napkins?
| Janel is a stay-at-home mom of two and a law school wife. Raised in a budget-conscious and do-it-yourself-minded family, she loves seeing something in a store or magazine and making her own version at home for less money. Janel blogs about motherhood, crafts, and recipes at Life with Lucie and Ella. | |