

The following post is from Lisa of The Pennington Point: Step by Step Mantle Decorating
The mantle is the centerpiece of the room. It can be challenging to decorate with such a long, shallow space. And if you’re anything like me, you switch it up from time to time. I change mine with each season. Now that fall is right around the corner. I am ready to make a change.
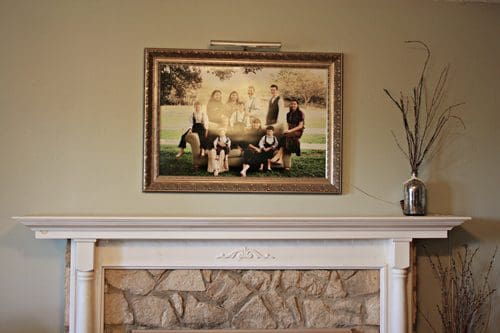
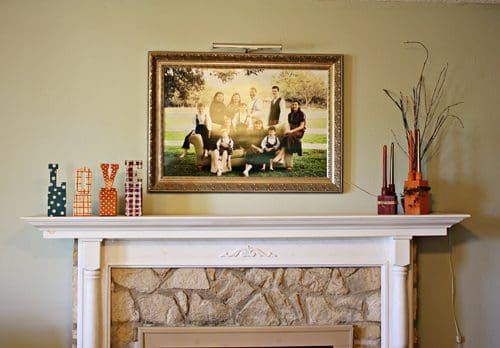
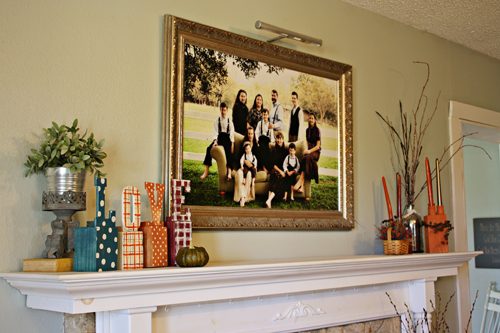
I start with a blank mantle. The only thing I leave is the picture above (although you might want to change that every season too!)
I started with tall twigs in a mercury glass vase because they add a nice height without adding any color. It needs that texture of glass and nature.
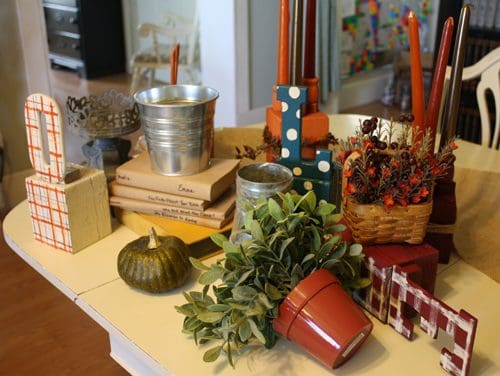
I had a whole pile of items that I thought might work for my fall mantle.
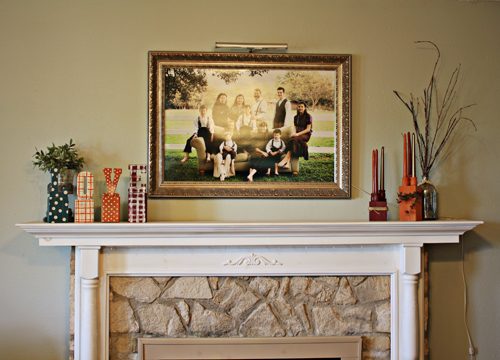
There should be something significant on each side, so I put the LOVE blocks on the left, opposite the twigs. They will anchor the left side of the mantle and be the feature. Everything else I add should only complement the letters.
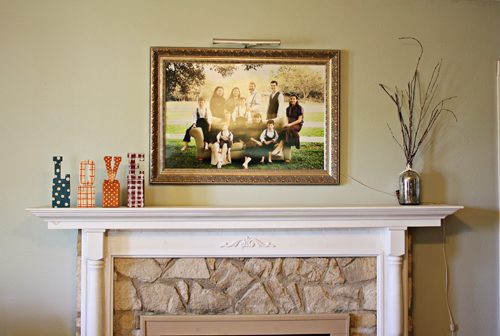
Next, I added something to balance the right with the left. I put chunky candleholders in fall colors in front of the twigs. I could have used a pumpkin, a family photo, or anything that adds the same “weight” to the side opposite the letters.
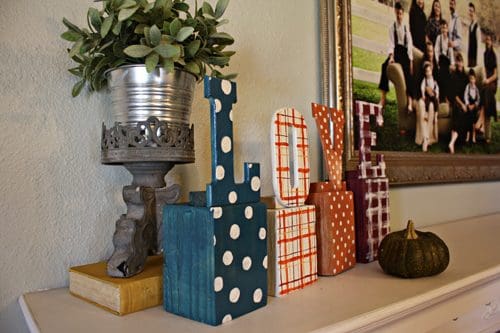
Now it’s time to make it blend. The left needs something tall but inconspicuous (yep, I’m bringing out the big words for this post). Plants are perfect for adding bulk without distracting your featured decor.

But you can see the plant is not tall enough. I looked around the house and found a stand that was a piece of something else. Don’t be afraid to break things into parts.
The plant still wasn’t quite tall enough, so I added a book under the stand (it’s a process).
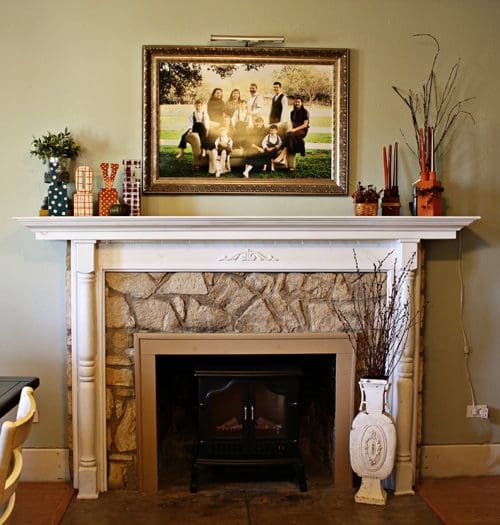
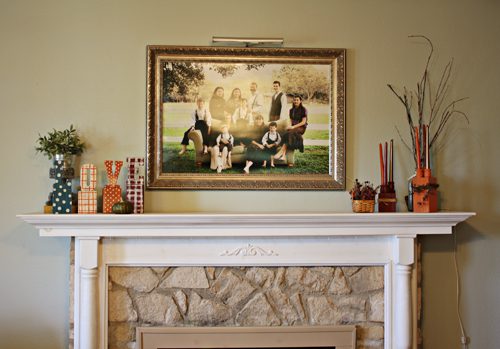
Once I knew I had the basics, I added a few little tchotchkes (yep, it’s a real word, look it up), and it was finished.
So here’s a recap
1. Start with a clean slate. Even if you think you will use some of the same things that are up there now, empty it all off and look at it with a fresh eye.
2. Add one featured piece. It should be large and attention-grabbing.
3. Make sure to balance the featured piece with something large but less busy on the opposite side.
4. Make sure you have height on each end. You can use unexpected household objects to add height.
5. Watch for texture. Have some wood, metal, plant, etc., to make it more interesting to the eye.
6. Tweak with small objects. They will soften the whole look.
And you’re finished! Step back and enjoy your sublimely decorated mantle.
How often do you change the decor on your mantle?
| Lisa winds through her little Texas farmhouse every night, tucking in her nine homeschooled children and turning off lights. Then she scans the rooms & makes a mental list of what she wants to rearrange, restore or paint. Her husband of 25 years hangs on for the ride while she blogs about it over at The Pennington Point. | |