After several months of trial and error, I finally feel as if I’ve made my bullet journal my own.
Am I doing it “right”? Probably not. Is it working for me? Yes!
Today I’m giving you a peek inside my bujo, but before I do that, I want to give you permission to jump in with both feet, try different methods to see which you like best, and “do you” when it comes to your bullet journal.
If you’ve wondered whether you can live up to the beautiful pictures on Pinterest, do it right, or make it work, here’s my best advice:
1. You’ll never know if this system will work for you until you try.
There are two temptations when you’re starting your first bullet journal: a) wait until you have the perfect supplies, or b) live in fear of messing up and ruining it. These two can keep you in a perpetual standstill. You buy the pretty new supplies (because who can resist office supplies?!) but then you never use them because you’re not sure how you want to use your journal and you’re afraid to “waste” it.
I started with an old journal that was just taking up space on a shelf (mostly because I have a tendency to buy new a little too easily and I didn’t want to waste money!). Once I was sure I wanted to continue and had a general idea of how I would use my bullet journal, I asked for a new pretty journal for Christmas.
Whether you’re starting with a cheap journal off your bookshelf or a brand new expensive one, the key is to just dive in and start using it. Your system will evolve with every page you create, and the more you allow yourself to mess up and experiment, the more freedom you’ll feel to continue to experiment—and mess up—as you go.
That freedom is where the real magic happens!
2. It’s not that hard to make your journal “pretty”…but you don’t have to.
Every time I use my journal in public, people comment on how creative and pretty it is. But the real secret? I use a few straight lines to draw an arrow or a banner in the header, add an easy-to-learn handwritten font and—voila!—suddenly it looks fancy. I have fun doing it, but I promise it doesn’t take any raw talent. At all.
Bullet journals were never intended to be over-the-top gorgeous or intricate; they’ve developed into an art form mostly as a function of living in the Pinterest era. I enjoy the creative aspect of it, so I’m not criticizing, but it’s important to realize that the system works without any of those extras. If the creative extras don’t appeal to you, just use it as a paper “brain” and move on.
If you do want a pretty journal, Pinterest is your friend! I love to search for bullet journal ideas and find new banners, headers, fonts and layouts to incorporate in my journal. That said, if you struggle with comparisons, you may want to avoid Pinterest altogether and do your own thing; the goal is to find inspiration, not see if you measure up!
3. Use the pages you want, and ignore the rest.
For some people, the creativity of creating new pages is what they really love, and it can be tempting to feel like you need to make tons of lists or extra layouts to do it “right”, but the beauty of this system is that you can create exactly the pages you want or need. Don’t let yourself get bogged down with “shoulds”!
For example, my Google calendar is still my main calendar and the one I consult daily, so I skip traditional monthly and weekly spreads and even things like future logs. I also don’t keep a ton of collections (besides the books I’ve read) because I just haven’t found any information that is that important for me to have access to.
This year I’ve started using my journal to track my goals for the year, and I added a “level 10 life” wheel to evaluate my progress a couple of weeks ago. In very non-type A fashion (shockingly!), I evaluated my goals during the third week of February and will do it again whenever the desire strikes rather than worrying about doing it on a certain day every month!
How I use my bullet journal
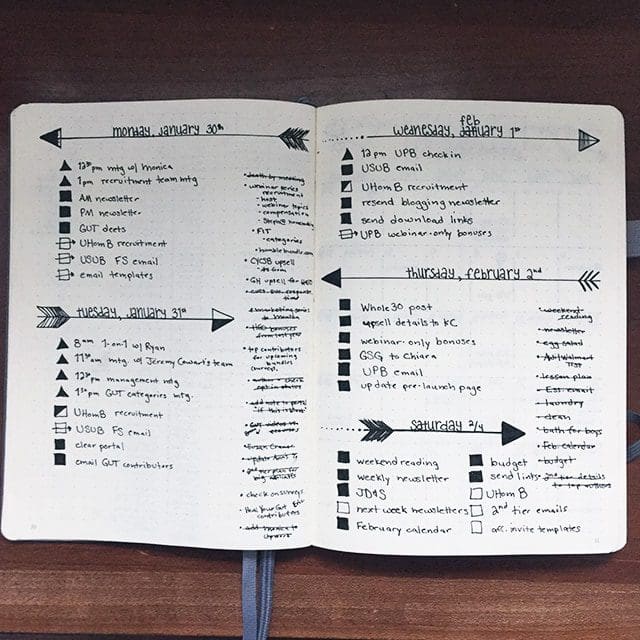
With those rules in place, I want to give you a peek into my journal. These pictures are of actual pages I’ve made and used and I’m sure you can spot a million “mistakes” on each of them. But the thing I love most about the bullet journal is that I get to start fresh every single time I turn the page, so I’m always trying new things and figuring out what works best for me!
Here are the main features of my journal (for now):
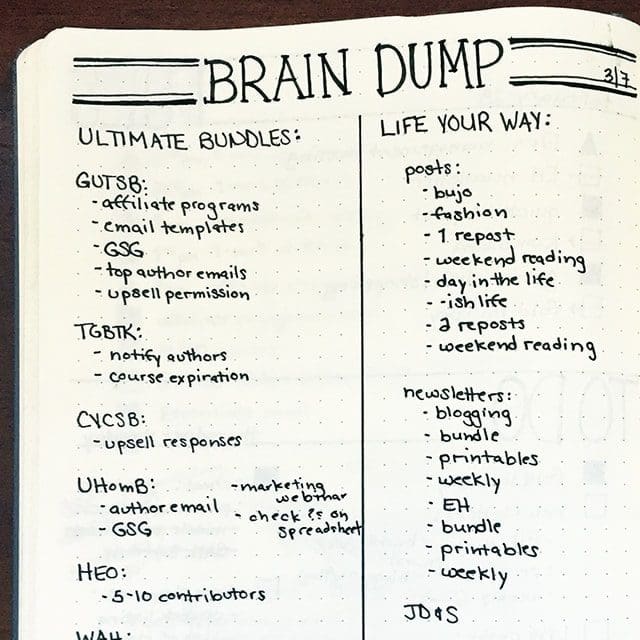
1. Every two weeks, I create a brain dump for things I need to get done. That brain dump becomes my master to-do list, and I add to it as I go. Rewriting this brain dump weekly feels redundant, but two weeks is long enough to get a good portion of my list done and need a new “dump” to clear my head and evaluate what’s on my plate for the next two weeks.
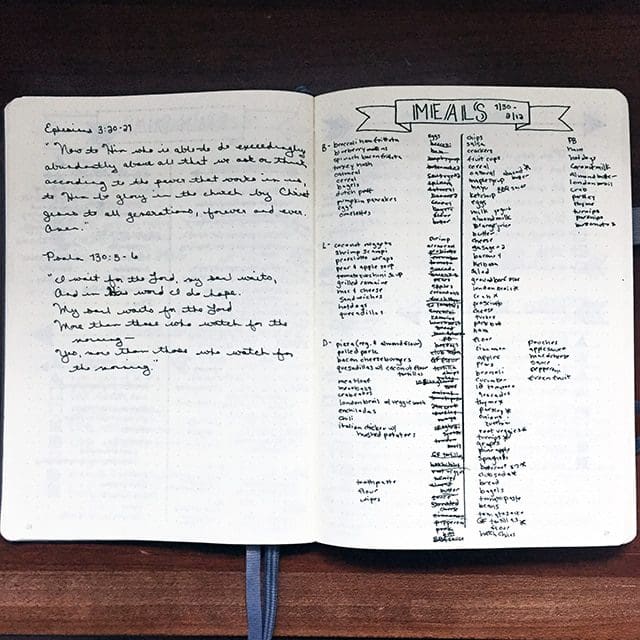
2. I usually create a two-week meal plan and grocery list at the same time, although my rhythm is a little bit off at the moment, so I’m currently doing those on opposite weeks. I don’t meal plan with specific days in mind but rather just make a list of meals that we’d like to have at some point during the upcoming two weeks and then a grocery list of what we need to buy for those meals.
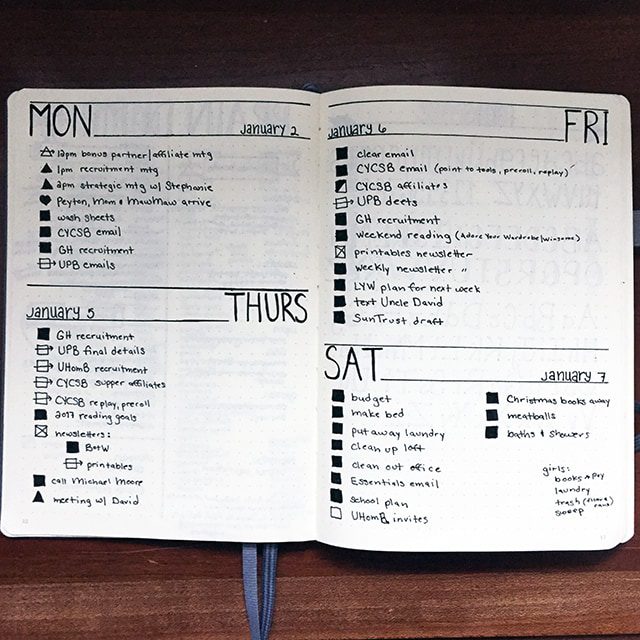
3. At the beginning of each new week, I start a to-do list for Monday. I add to it and mark things off as I go, and then the next day I add a new header right underneath the previous list, wherever that falls. If I haven’t gotten much done one day, I might use the same list for two days in a row and then start a new one on the following day. Typically these spreads end up taking up two pages, no matter what the particulars look like that week.
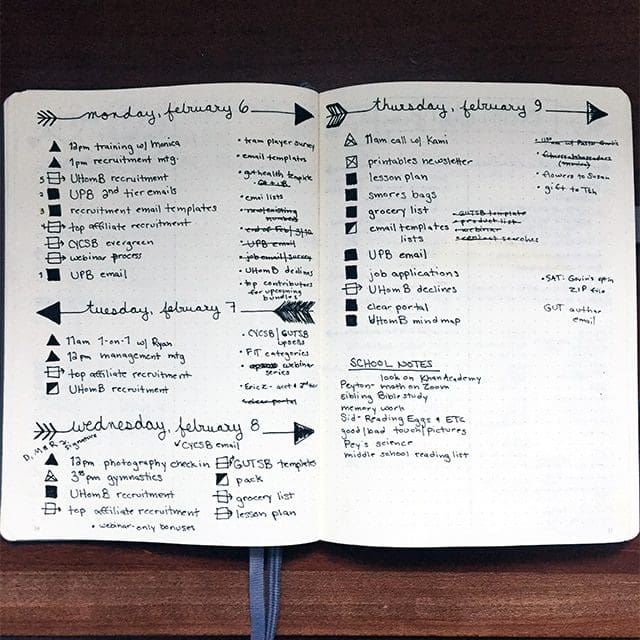
4. I keep an ongoing list of tasks that pop up during the week in the sidebar, almost like bullet points. Some of these will get scheduled on daily to-do lists; others are small enough that I just cross them off when they’re done. This helps me keep track of ideas, requests from other people, and tiny tasks that just don’t justify a regular to-do list item.
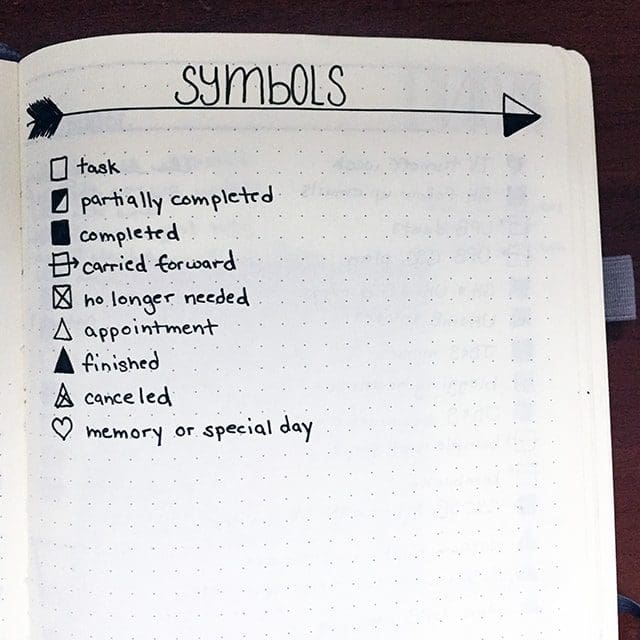
5. My favorite part of the bullet journal system are task identifiers, and they’re probably the part of the system I adhere to most faithfully. I use identifiers for special days/memories/events, tasks, and appointments, with various symbols to show when they’re completed, become unnecessary, or need to be carried forward.
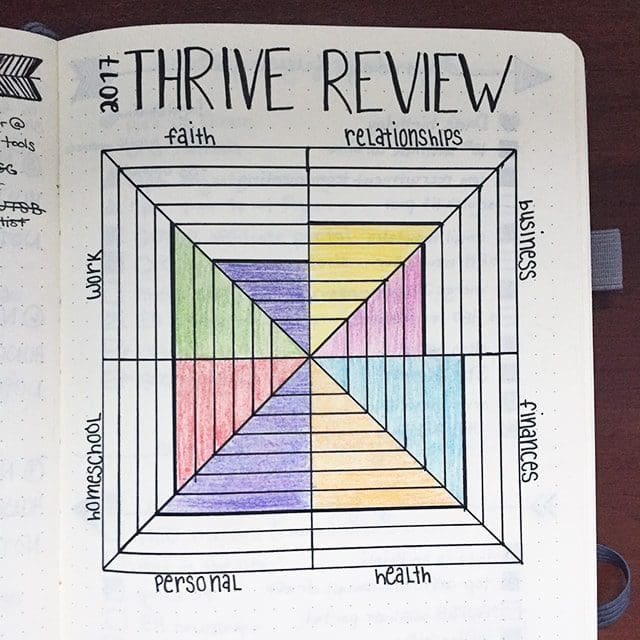
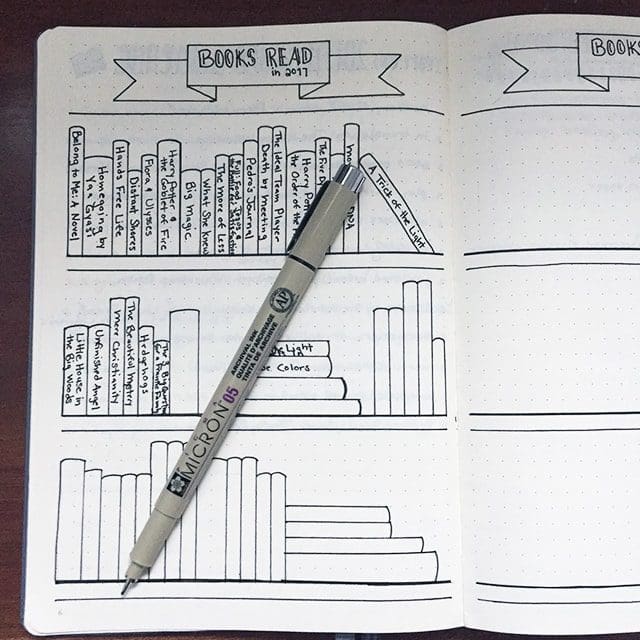
6. My only collections so far are related to goals for the year and books. I’ve only ever used color in my level-10 life chart; other than that, I prefer the simplicity of black-and-white.
***
If you’ve been thinking about creating a bullet journal but letting your perfectionism hold you back, I’d encourage you to jump in and get started. Today!
Remember, your system can grow organically as you try new things; you don’t have to do it perfectly from the beginning!