The following guest post is from Katie at Kitchen Stewardship:

I always thought I might be a children’s book author when I grew up – I think most elementary school teachers probably do. Or maybe a wedding dress designer. Or president of the United States.
Simple dreams.
I never really dreamed I would be able to write my own recipes.
I’d always been the kind of person who measured perfectly (just about) and followed recipes to the letter. Somewhere along the way, I gained the courage in the kitchen to try new things and just “go for it” and see what happens.
Surprisingly, for someone who used to wrap tuna fish, potato chips, and ketchup in a leaf of lettuce and thought it was the most awesome meal in the world, most of the time my meals turn out pretty well.
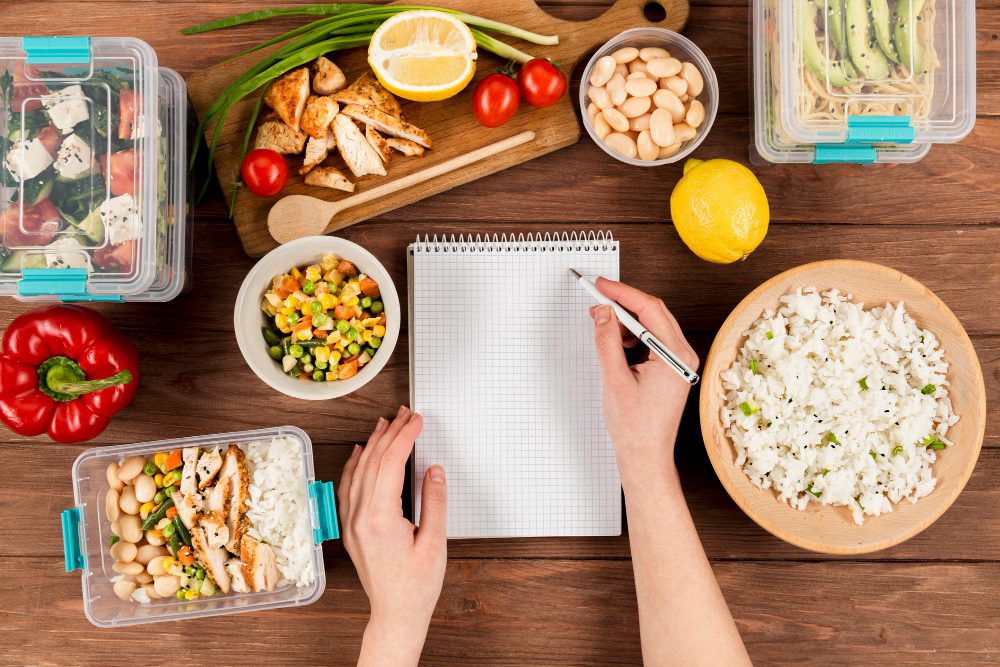
If you’ve always wanted to create something new in your kitchen but weren’t sure where to start, here’s my grassroots style method for starting with a blank recipe card and creating dinner:
1. Do an Internet search for the dish you want (or for ingredients you wish to use).
2. Open up a number of recipes at once and read through the ingredients (and method, if that part might be tricky or important like Homemade Caesar).
3. Write a list, or keep track in your head, of the common components of many recipes.
4. Keep a separate list of outliers that you find interesting and might want to include in your own creation.
5. Determine the range for measurements of the common ingredients.
6. Start writing “your” recipe. Shoot somewhere in the range you found for the ingredients you’ve chosen to use and hope it works out!
7. Get personal – here’s where you get to tell the recipe you like spicy over sweet, or a sharp vinegar tang rather than a mellow herby finish.
8. If you hit upon a few ideas you’d really like to try, determine if you could split your test recipe in half – start a soup and then move it into two pots for the seasoning, or divide a sauce or dressing into two containers before adding the spices/cheese/etc. Make half batches in case of disaster, then you don’t have to waste good ingredients.
9. Finally, just give it the old college try. Make your recipe, see how it goes, and take very good notes on both your process and results. You’ll often immediately think of some ingredients you might increase, decrease, or alter in some way. Write it down.
Note: I would not recommend trying to “design your own” baking recipe if you are new at this and/or aren’t a very accomplished or knowledgeable baker. There are more things that can go wrong if your proportions are off for muffins, brownies, or a cake than when making soup, sauces, or casseroles.
Excerpt from Better Than a Box:
Here’s an example of one of my first “create-your-own” recipes that I made about four years ago and still use today:
Homemade Caesar Dressing

Ingredients:
- 2+ Tbs. Parmesan cheese
- 2 cloves garlic
- 1 egg yolk, from pastured chickens, room temperature
- 2 tsp. apple cider vinegar (raw is best)
- 1 Tbs. (or a little less) fresh lemon juice
- ½ tsp. dry mustard
- ¼ tsp. salt
- ¼ tsp. pepper
- ¾ c. extra virgin olive oil
Directions:
If using real Parmesan cheese: I recommend using a food processor or mini processor for this task. Whiz the cloves of garlic first, then toss in a chunk of Parmesan (one inch by one inch or a bit larger will do, just eye it up) and process it up before all the wet ingredients get going. You can remove them to a plate and stir back in at the end or just leave them in the machine as long as the emulsifying works okay the first time.
Add the egg yolk, vinegar, lemon juice, mustard powder, salt and pepper into the machine, then whiz until combined. Stream the olive oil through the top of the food processor while it’s running, or add a few tablespoons at a time (eye it up, just pour bit by bit) and then whiz in between with a mini chopper. It should thicken up into a creamy consistency after about ¼-½ cup, which is SO FUN to watch!
Stir in the Parmesan cheese and garlic at the end if you removed them or if you’re using canned Parm. Store the dressing in the refrigerator, and it will last at least a few weeks up to a month.
Find more notes inside Better Than a Box, including how to “fix” it when the emulsion doesn’t work, how to lacto-ferment the dressing, what to do with the leftover egg whites, and how to do it without a food processor. There’s also a whole section where I walk you through the “design-your-own” process with examples of recipes, including my thinking as I figured out this one.
Better Than a Box
I’m so pleased to introduce Easy Homemade and Life Your Way readers to Better Than a Box: How to Transform Processed Food Recipes into Whole Foods Favorites.
The PDF download also includes the Kindle and Nook files, as well as free printable recipe cards, a freezer supply list, how to cook dry beans, and other handy dandy charts and tips.
Keep a list of your favorite recipes.
Get yours today!
| Katie Kimball has been “green” since 5th grade when she read 50 Things Kids Can Do to Save the Earth. She remains slightly disappointed that she didn’t actually save the whole thing back then, but now that she has 3 kiddos counting on her, she keeps plugging away hopefully. Katie blogs at Kitchen Stewardship about real food and natural living and is the author of Healthy Snacks to Go and other eBooks, available for Kindle. | |