Creating your candy bar with ingredients from a quality candy shop can be fulfilling and exciting for anyone with a sweet tooth. The sense of accomplishment when you try the first tasty bite of your creation is a feeling like none other.
There are different levels of candy bar creation, depending on what your end goal is. Whether you want a personal stash with your touch or start a unique candy bar business, we’ve got your back.
Make a list and head to your local candy shop. These are eight tips on how to create your candy bar!
1. Get Personal
Anything you create should have an element of your personality involved. If you design your logo and wrapper, use your artistic style on the design.
Use your favorite colors and shapes. Maybe you have a favorite quote that has something to do with candy. You may have a favorite moment or memory that’s candy-driven.
Regardless of the situation, get personal with your motivations. The more personal you get with your design, the more ideas you’re likely to come up with.
2. Use Your Favorite Ingredients
Use your favorite candy shop to purchase all your favorite ingredients. Whether your poison is peanuts, sprinkles, almonds, chocolate, or caramel, your local candy shop probably has what you’re after.
If you use your favorite ingredients, chances are you’ll have a greater taste for what the final product should look like. Make it a flavor all your own and share it with the world.
3. Decide on the Type of Candy
If you’re new to candy-making, you should probably stick to one niche first. Do you want to make regular chocolate bars or caramel chews? Do you want to design some type of flavored drop-style candy bar with fruit chews?
When you create something for the first time, stick to what you know best. This ensures you end up with a quality finished product.
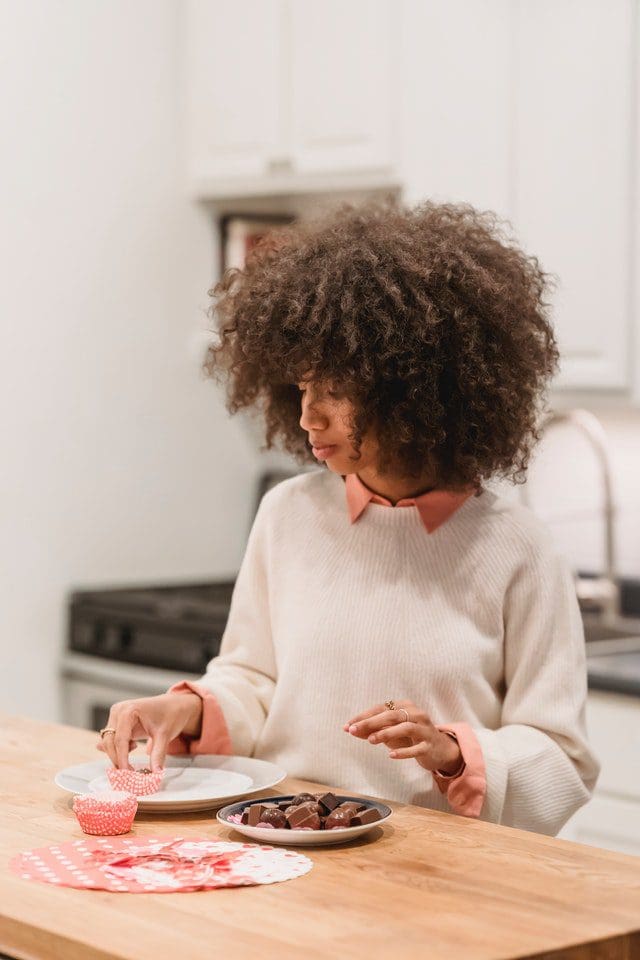
4. Packaging
Stay uniform with your packaging. When you design the outer wrapper for your candy bar or a Christmas candy bar wrapper, you can draw on ideas at the local candy shop.
Will your candy bars be individually wrapped? Maybe you want a multi-pack of candy bars. Provide one style of the product first and go from there. You can consult with reliable packaging designers from Zenpack.us to get an idea of where to get started and make the brand stand out with its unique design and packaging
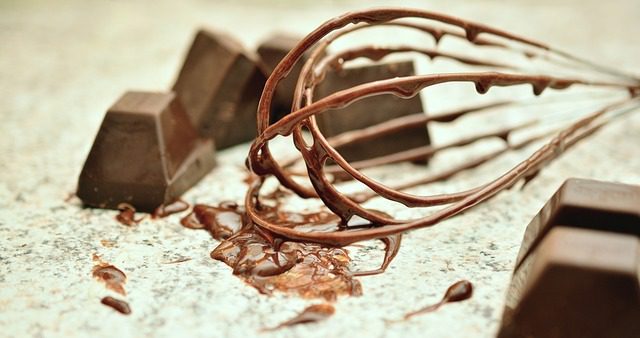
5. Use Quality Molding
Make sure the shape of your candy bar is going to hold. Use quality molding when you prepare your recipe to ensure your candy bar has a quality shape.
Most candy shops should carry several types of moldings for candy bars. Try a few different designs and choose the one you like best.
6. Get the Word Out
Nobody is going to know about your candy bar if you don’t put the word out. Make some posts online through blogs and message boards. Use social media to your advantage.
Ask your nearest candy shop if you can promote a flyer in their store with your candy bar company information. If you get lucky, they might let you sell your creations in their store for a small percentage.
7. Quality Control
Inspect each piece of candy you make. When you’re first starting, quality is of utmost importance. You want a good reputation for your candy bars, so the word spreads. Speaking of good social standing, consider using biodegradable packaging or any green alternative to attract more people.
8. Surveys and Follow-Ups
Develop a system that allows you to track who purchases your candy bars in the initial phases. Send out surveys and do follow-ups asking your customers how they liked your product.
Be receptive to their feedback and listen to what they have to say. If someone has suggestions, be open to changing a few things about your product if you feel it’s for the best.
Some Recipes to Try
Here are a few simple starter recipes you could try on your new candy bar venture. The closest candy shop might even offer recipes on their website you can try.
Full of Ingredients
Use this as an example for chocolate bars that have big lists of ingredients. The chocolate bars listed here have loads of great fixings.
Don’t overdo when you’re creating your candy bar. Use a lot of ingredients, but not too many of one kind. You don’t want to overwhelm the people that are sampling them.
Simple Homemade Chocolate Bars
This recipe is for simple homemade chocolate bars. They’re not over the top, but sometimes less is more. You can find all these ingredients at your local candy shop.
Ingredients
- 12 ounces of chocolate
- 1 teaspoon of Crisco
- Your favorite fillings
The Steps
- Microwave the chocolate for 30 seconds at a time. Stir after each microwave session. Add the Crisco to thin the chocolate and make it easier to pour.
- Pour a layer of chocolate into ice cube trays. Tilt the ice tray around to help the candy coat each section of the tray. Use a knife to spread the chocolate up the sides of the cubes. This gives you a small dimple in the middle of each candy to put your fillings.
- Fill each cube with your favorite fillings.
- Put the ice cube tray in the refrigerator to let the candy harden overnight. The following morning grab the ice cube tray and remove the chocolate candy bars. Twist the ice cube tray slightly while running a butter knife around the perimeter of each candy. They should slide out easily without leaving any chocolate left behind.
Your local candy shop has all the ingredients you need to create your chocolate candy bar masterpiece. Experiment with different designs and recipes until you come up with a couple of your favorite prototypes. Make a few different recipes and pick your favorite.
Don’t get discouraged. If you don’t like the first few candy bars you make, head back to your favorite candy shop and try again. When it comes to cooking and recipes, practice makes perfect!
Click here for candy recipes:
Featured Image by congerdesign on Pixabay