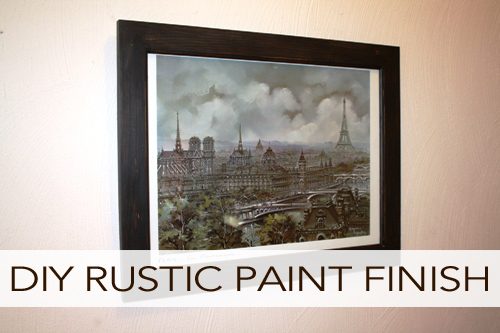
The following post is from Janel of Life with Lucie and Ella.: DIY Rustic Paint Finish
I am not a professional painter. My dad has been a house painter since before I was born, but he didn’t pass down his skills to me. Of course, I couldn’t help picking up a few basics, but I usually leave any serious painting that I need to be done to my dad or brothers. However, I DO know what a difference a new paint job can make, and have attempted painting on a small scale with a less-than-perfect painting technique.
If you like to pick up items at flea markets, thrift stores, or garage sales, you can give them new life with a coat of paint. Over the last few years, I have given some furniture and other items an update with a rustic paint finish.
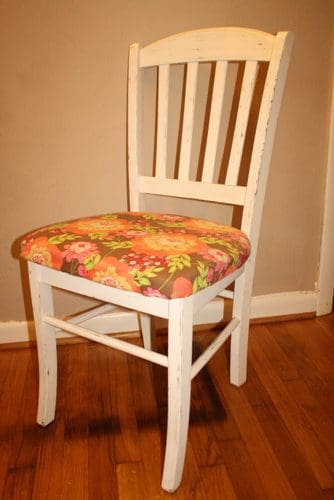
My mom found these dining chairs at a garage sale for just $5 each. I sanded them down, stained them dark brown, and painted a cream rustic finish over the top. I LOVE them, and so do many of my guests.
The beauty of a rustic finish is that it is rather simple to do and doesn’t have to be perfect. With small kids at my house, chances are that a paint finish isn’t going to stay perfect forever anyway. It’s a low-stress project that’s fun to do!
On New Year’s Day, I decided to makeover a couple of frames that got a bit beat up during our cross-country move. I meant to paint them black over a year ago but had just not gotten around to it. Well, there’s nothing like a new year to get me motivated. I gave them a rustic paint finish in black.
How to Create a Rustic Paint Finish:

Supplies:
- wooden item to paint
- sandpaper – medium and fine grit
- wood stain (optional)
- paint
- disposable cups
- paint brushes
- plastic tablecloth or drop cloth
- paper towels or rags
- clear varnish (optional)
Directions:
Prepare the piece that you want to finish. Sand the wood in the direction of the grain. Use medium-grit sandpaper to smooth out the wood if it is bare. If the surface already has an existing finish, sand it lightly to help the new paint adhere to it. If you have bare wood and want a darker stain to show through, you can apply a wood stain and allow it to dry. Then, sand again to smooth out the wood. Remove any dust with a damp paper towel and allow to dry.
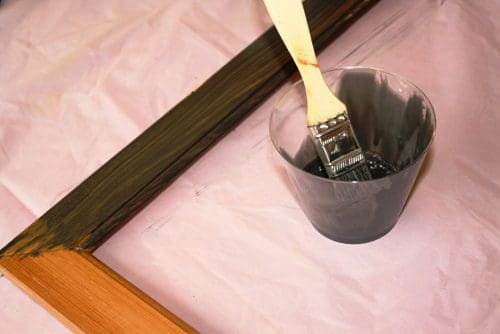
Protect your work surface with a drop cloth or plastic tablecloth (I use one from the dollar store). In a disposable cup, create a mixture that is 50% water and 50% of your paint. Brush onto your piece. The paint/water mixture will absorb readily if it is bare wood. It will take a little while to dry if it already has a finish. If it goes on too thickly for your tastes, use a dry paintbrush to remove some of the excesses. Clean your paintbrushes, and allow the piece and your brushes to dry.
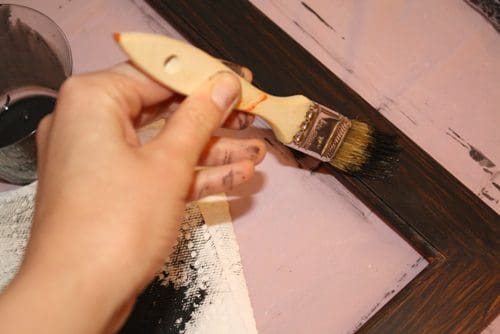
Dip the tip of a dry paintbrush into full-strength paint. Remove the excess onto paper towels. Brush lightly onto your piece (in the direction of the grain) so you can see the brushstrokes, and some lightly coated wood shows through. Apply as much paint for overage as you desire. Allow it to dry.
Use fine-grit sandpaper to remove some of the paint in various places and expose the wood (or wood stain) underneath.
If you desire, you can protect your rustic finish with a non-yellowing clear varnish.
Have you ever given furniture or decor new life with paint?
| Janel is a stay-at-home mom of two and a law school wife. Raised in a budget-conscious and do-it-yourself-minded family, she loves seeing something in a store or magazine and making her own version at home for less money. Janel blogs about motherhood, crafts, and recipes at Life with Lucie and Ella. | |