If you love cooking, a cookbook is probably something you’ve considered writing yourself at some point. Although the recipes are the main attraction, it takes careful planning and dedication to write a cookbook that can be published. Here are seven steps to help you write your own cookbook.
Brainstorm Recipes
The first step to writing your cookbook is to brainstorm ideas for recipes that will go into it. When you’re just starting, don’t aim too high – pick recipes that are simple and quick to make so you can build up confidence as you go along.
Think about the types of food you like cooking most (Italian? Indian? Steaks?) and what your friends ask you to make often (start with this). After all, if there’s no demand for your cookbook at home. There’s not likely to be much interest elsewhere!
It helps to take note of the ones that give impressive results or seem particularly easy (and hence quick) to whip up. The time saved on recipe testing will come in handy later if you stick to cooking relatively simple dishes. Your brainstorming sessions should not just focus on the recipes but also on cookbook designing and layout. They may not seem significant at first, but the placement of texts and images and the background colors will improve the attractiveness of your recipes in the publishing process later on.
Quality Is Essential
For most, the idea of writing a cookbook is about conveying techniques and recipes that others can benefit from. Quality must be of utmost priority when testing your recipes – this means practicing, writing, and rewriting until everything is perfect before you even think about taking pictures for your book. You may find it useful to develop a list of criteria that your recipe will have to meet to be included in your cookbook:
- A reliable technique that is easy to reproduce at home
- It uses common ingredients found in many kitchens worldwide (i.e., without too many ‘specialized’ items) and provides alternatives for seasonal or hard-to-obtain ingredients.
- Easily adjustable up or down, making more or less than one serving without major changes
- Includes step-by-step photos or a video tutorial
Now is also the time to start organizing your recipes into chapters. While some cookbooks have a thematic organization (e.g., all appetizers in one chapter), most follow a chronological order starting with breakfast and ending with dessert.
Draft the Recipes
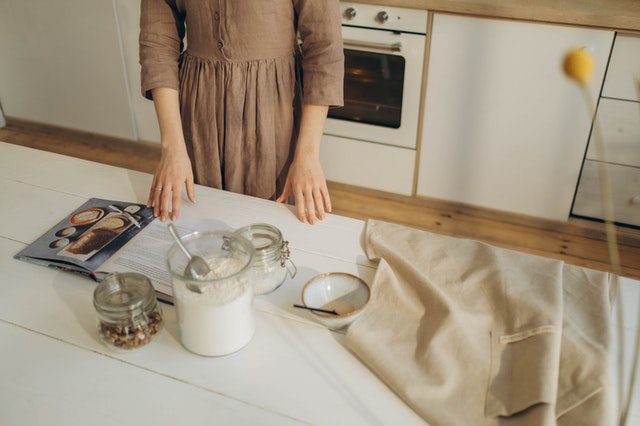
The next step is to start drafting your recipes. This includes writing out the ingredients and method and headnotes that give extra context or explain why the recipe works well. Think about what you want to give your readers as a takeaway from each dish – do they need to know any special considerations, tips, or techniques?
Include variations where applicable, and make sure to list any allergies or dietary restrictions that apply to a dish. If a recipe is time-consuming, consider whether a shorter version could be included as well. It’s also important to get feedback on your recipes while still at the drafting stage – have friends and family test them out and take note of any comments or changes they would recommend.
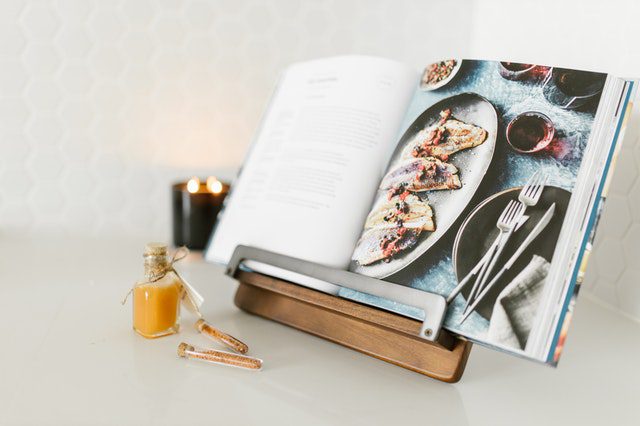
Take Photos and Write the Instructions
Once all your recipes are finalized, it’s time to take photos and write the instructions. This is often where people new to cookbook writing typically face challenges, as it is important to capture the steps involved and the end result. When you have doubts and hesitation or seem stuck with a step or idea, it is wise to go back to the basics of learning. You might have had a lesson back in college about the types of learners (visual, auditory, kinesthetic, and reading/writing). It will come in handy since your cookbook will be picked up by readers of diverse backgrounds and learning preferences.
With these things in mind, make sure for clear, concise instructions that don’t leave room for interpretation (and include measurements in both imperial and metric). Make sure to photograph each step of the process, from beginning to end, and the final product.
Layout and Design
The layout and design of your cookbook are factors that create the identity of your cookbook and will help set it apart from the rest. Let your creative juices flow freely and really make your book not only eye-catching when seen from the shelf but also pleasing to the eye when the pages are turned.
Think about using different fonts, colors, and graphics to break up the text – but don’t go overboard! You want your readers to be able to quickly flip through the pages and find the recipe they’re looking for without being overwhelmed.
Hiring a professional designer is always a good idea if you have the budget. They can help take your ideas and make them a reality, plus they’ll have lots of expertise in terms of what works well (and what doesn’t) when it comes to cookbook design.
Design Your Own Cover Art
People still judge a book by its cover when it comes to cover art. Thus, as early as before the recipes are finalized, decide on the cover art for your cookbook that will entice readers. Some people hire professionals such as https://bookcovers.io/ to design their cover art, while others do it themselves or collaborate with someone to make their own.
To create your cover art, you’ll need either a good knowledge of graphic design software (such as Photoshop), a creative mind, and/or an artistic eye. If you’re not confident in your abilities, try collaborating with a friend or hiring someone on fiverr.com to design a cover for you.
Publish and Sell Your Cookbook
Once you have finished writing, designing, editing, and all other preliminary preparations for your book, then it’s time to publish it! This includes working with a professional printer to get the best quality product and getting sales representation from a company that can help you sell your book in different markets.
Of all the preparations and steps in writing a cookbook, this might be the easiest part of the entire process and the one that needs the most patience. The first thing you need to do is decide if you’re going to self-publish or work with a publisher (which will also involve hiring an editor).
If you choose self-publishing, you’ll need help with formatting and creating an e-book as well as print books. Amazon has a free guide on formatting your book for Kindle, paperback, and hardcover here.
If you choose to work with a publisher, one or multiple editors will probably work on the book again before it’s published and/or released in stores.
Writing a cookbook is no easy feat. With a bit of hard work and lots of practice, you’ll be on your way to publishing your very own cookbook. And when you do, you deserve a pat on the back.
Featured Photo by RODNAE Productions from Pexels