
Image by Daina Krumins from Pixabay
Turkey Hunting in Ohio: What You Should Know Before You Go
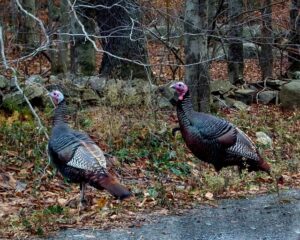
Hunting in Ohio requires possessing both an Ohio game bird hunting license, turkey permit and appropriate ammunition - hunters should wear hunter orange while moving through the woods and positively identify gobblers by sight before shooting them. To learn more about the process and what’s best to do, read on. Know Your Prey Ohio turkey…