In today’s article, we will talk about how to take great photos in motion. By following our tips, you can create real masterpieces!
And for those who want to learn more about photography, we suggest visiting Skylum’s blog. There are many useful articles, such as everything about the sRGB vs Adobe RGB contest.
How to Shoot in Motion: The Benefits of Continuous Capturing
Almost every modern camera has a continuous shooting function. It works because as long as you hold down the button, the camera continuously takes picture after picture. On average, the camera can take up to four shots per second, but some models offer faster continuous shooting.
Shooting on the move: focus modes
- In One Shot mode, the camera focuses by itself and autofocuses once.
- Al Focus mode – the camera focuses, and the shutter can be lowered in parallel. However, you must constantly catch the focus while your subject moves.
- Not sure how to take a picture of a moving subject? Simply use Al Servo, the focus mode specifically designed for such occasions. The camera will bring your subject into focus and hold it there until you press a button. It’s safe to say this function has more intelligence than many photographers, as the camera independently predicts the progression of your subject.
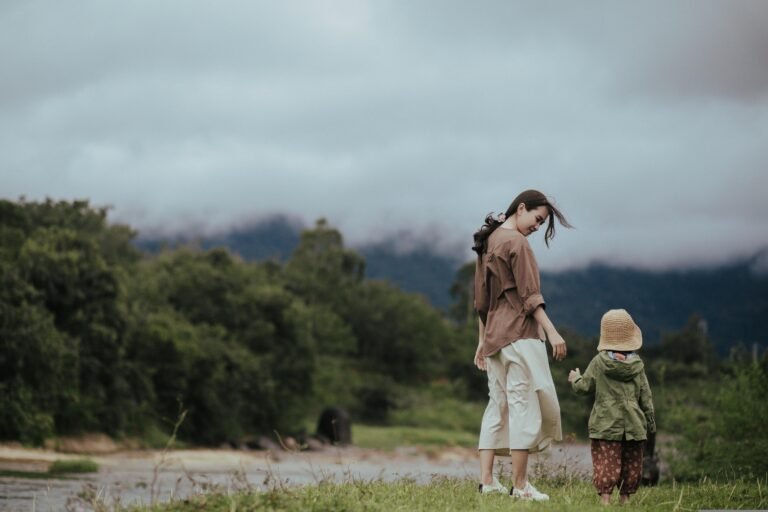
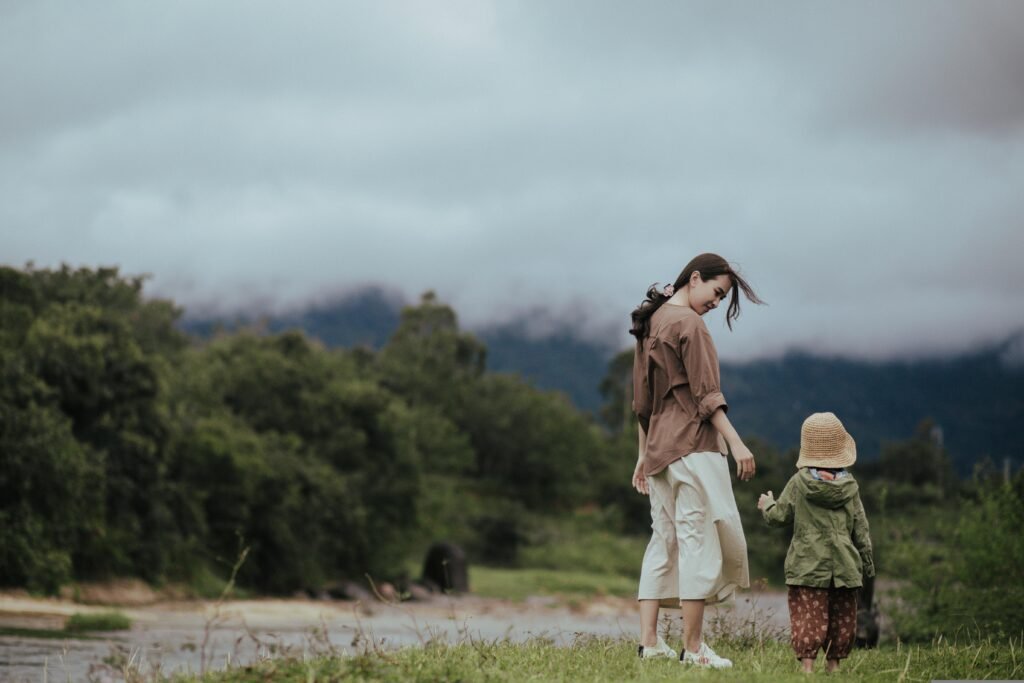
How to photograph children on the move
Children are so built that they absolutely cannot sit still and are, therefore, very difficult to photograph. Most parents with basic photography skills often have the question – how do you photograph children on the move?
Take pictures at a shutter speed of about 1/160 sec.
- Shoot with shutter speed priority (Tv/S) mode.
- Frame the shot with a margin. Make the shot more open in advance, and try to capture more of the space. This way, you can avoid “cut off” hands and feet in the picture. You want your baby to be in one piece, don’t you? And don’t worry about extra space and composition – processing will help you.
- If you don’t want to miss a moment, batch shoot. By taking several shots in a row, you can choose 1-2 good ones and continue working with them in the editor.
https://unsplash.com/photos/oGv9xIl7DkY
How to photograph animals in motion
There are two opinions on this:
- You have to shoot in TV mode (shutter priority)
- You should shoot in AV mode (aperture priority)
Frankly speaking, we are more inclined towards the first opinion: photographing animals and birds is best (certainly easier) in TV or S mode.
Also, some photographers say that manual mode (M) is also great for photographing animals in motion. But there’s one problem – not all photographers are good at this mode. Before you go on a bird hunt, practice using M-mode.
How to picture water in motion
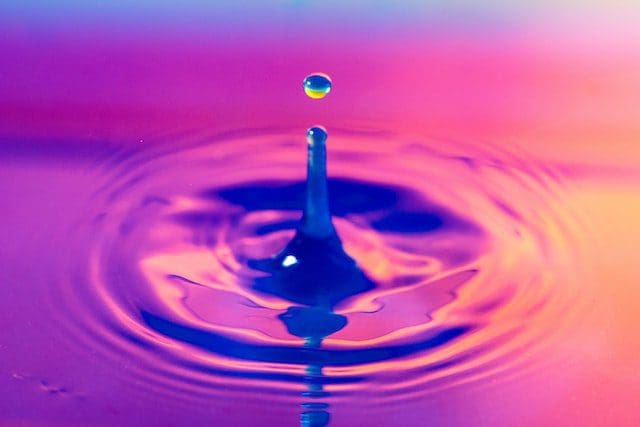
Before describing the process, we would like to warn you that it is extremely important to remember the basics of landscape photography when taking pictures of moving water streams and falling drops. Keep in mind that your photos are not going to become masterpieces just because they capture water. So think carefully about all the elements of the image.
Now to the process. Before you shoot, you need to make sure your camera is stable. Using a tripod is best, as it’s difficult to shoot the subject handheld. Ideally, you should use a remote or a timer. That way, you avoid unnecessary movement.
Shoot in shutter speed priority mode. It’s best to choose a small aperture of f16 or slightly smaller.
How to shoot a time-lapse in motion
Timelapse is an unusual type of photography in which the resulting still images are combined into an overall video. Timelapse can capture very slow-moving phenomena, such as a sunrise, floating clouds, or a flower blooming.
Shooting process:
- Set the camera on a tripod.
- Set the lens to manual focus.
- Deactivate the image stabilizers.
- Set white balance to Manual. Of course, if you shoot in RAW, you can set this later in the editor, but it takes a lot more time and effort;
- Use a manual lens. You can use it to prevent flickering. If you own a Canon camera, set your aperture value, check the field depth, and twist the lens slightly while holding the button.
- Remember: two to one is perfect for the ratio of shutter speed to shutter speed;
- The best shutter speed is two seconds with an inter-frame interval of four seconds. If the weather is windy enough, set the interval to one or two seconds.
- Do not set the ISO value higher than 3,200;
- Turn off the review function after you take a picture to save a lot of battery power.
- When you take time-lapses at night, we suggest you set the iso to somewhere around 100, an aperture of f/8, and a shutter speed of about fifteen seconds.
Once you have reproduced all the settings required for timelapse, we recommend taking 25-30 test shots and scrolling them with the click wheel. With this simple procedure, you can get a rough idea of what the end result of your efforts will be. You can find information about sRGB vs Adobe RGB on Skylum’s blog. This will help you take pictures of excellent quality.
Featured