Photography props are additional items, accessories, clothes, etc. that add context or appeal to the scene at any photoshoot. Getting an interesting prop doesn’t necessarily mean investing much money in it. You can always create DIY photography props on your own.
In this post, we would like to show you ten easy DIY photo prop ideas that require items that almost everyone has at their place or that may be bought on Amazon up to $10. However, if it is a special occasion like wedding, you must choose professionals like annabellaw wedding photographer for the best results.
1. Spray-Painted Furniture
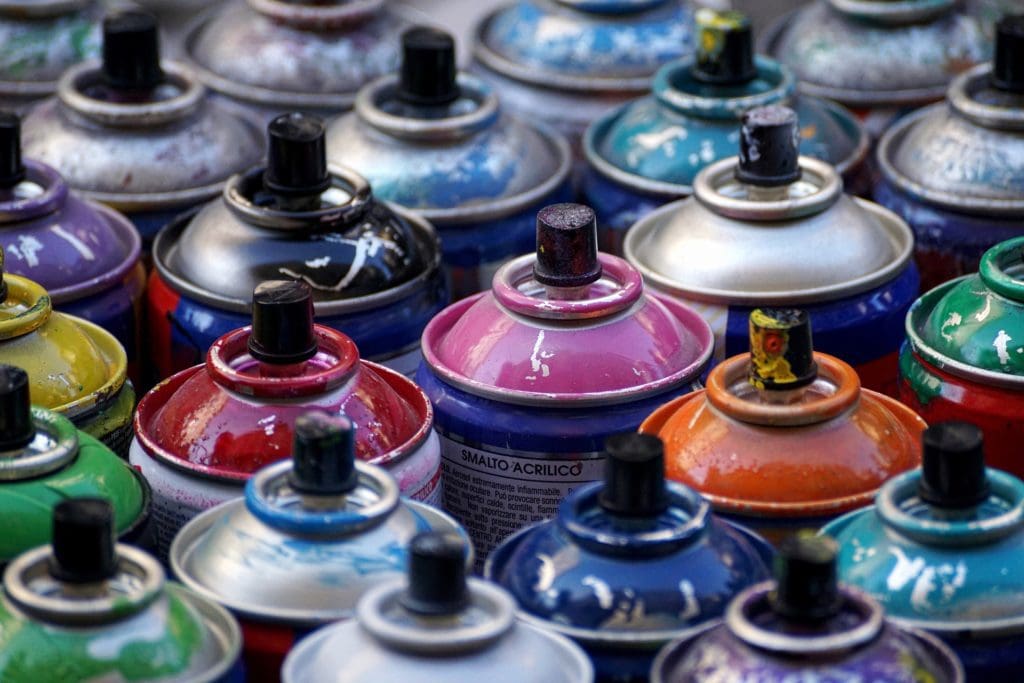
Things you’ll need:
- Spray paint
- Old furniture
Spray paint is a must-have when it comes to DIY photo props. Besides, spray paint isn’t difficult to deal with at all. Typically, it features a vast array of colors and can turn the ugliest, the oldest and the most unappealing furniture pieces into a real candy for the eye that you won’t hesitate to show off in your photographs.
We recommend stocking up on several different hues of spray paint to match the color theme of the photoshoot. Feel free to apply spray paint to vases, frames, stools, benches, chairs, birdcages, buckets, swings, etc. Check out more DIY photo props connected with cheap things or old furniture you can find even at home.
2. Chalkboard
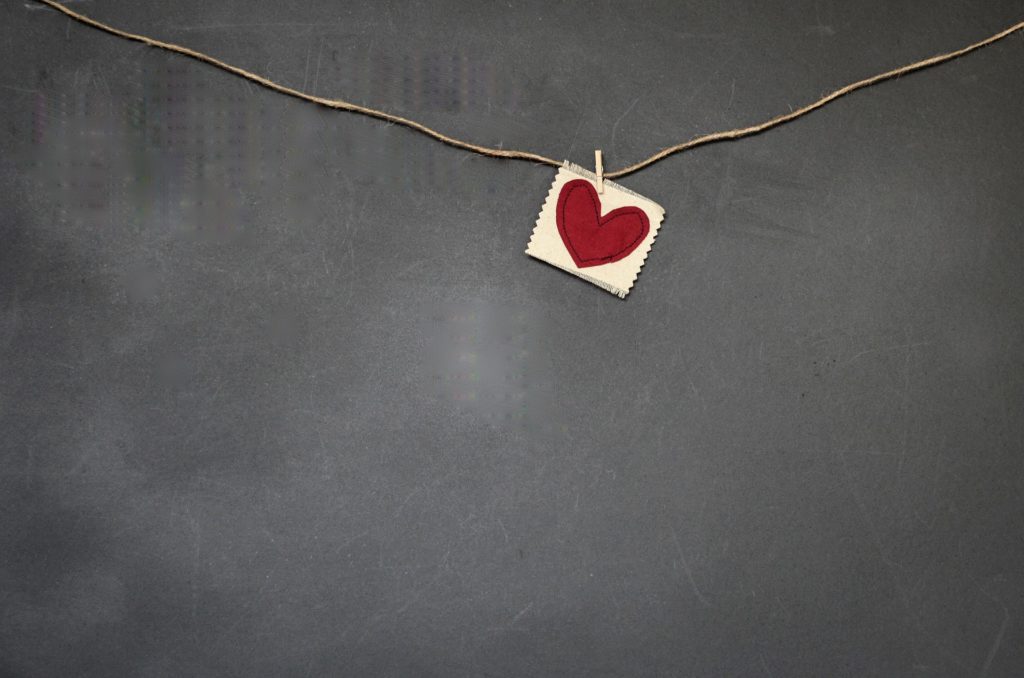
Things you’ll need:
- Chalkboard
- Chalk
Here is one of the most universal and cheap props for photographers. The chalkboard will greatly fit into any wedding, engagement, birthday, and christening photoshoot. Use this prop to write a relevant message on it, for instance, a wedding date, wedding vows, family names, lyrics from a song, lines from a poem, etc.
The chalkboard will also complement pictures that emphasize the changes during a certain time period, like monthly shots of a newborn.
The color of the chalk may be white or of any other color. If you wish to bring more creativity into the shot, ask a professional artist to draw something special. If you are after a personalized story filled with fun, ask a couple of other subjects of the shooting to write or draw something. In the majority of cases, they will write a profound message, making the photographs more touching.
3. Clouds
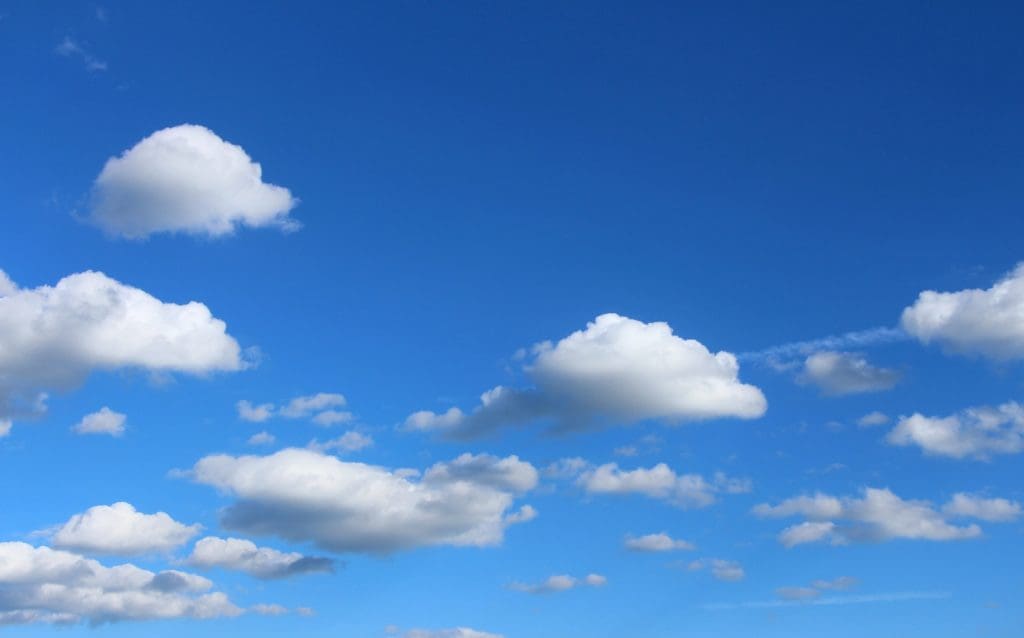
Things you’ll need:
- Pillow stuffing
- Glue
- Cardboard/balloons
- Fairylights (Optional)
Fluffy clouds are one of those homemade photo props that won’t take much to make. They are perfectly suitable for cheerful and amusing photoshoots, especially with children. In this way, little models won’t feel bored and will be eager to participate in the process.
To make a fluffy cloud, take pillow stuffing, and glue. Try to make true-to-life clouds of varying sizes and shapes out of the pillow stuffing. To fix the clouds in place, stick them to cardboard or a round base, like a balloon with glue.
When you are done making clouds, you may hang them from a ceiling, attach them to a blue backdrop, or ask the models to hold them. The final shots will look fascinating!
For a glowing effect, add fairy lights to the clouds or add raindrops by hanging them on a fishing wire.
4. Bunting Stars or Flags

Things you’ll need:
- Paper/fabric
- String
Bunting flags and banners are DIY photography props that will make any shooting more fun and will add a holiday atmosphere. To make a banner, you will need thick paper and a string. Banners and bunting flags give you full creative freedom – you can experiment and cut them out from all sorts of patterns and colors.
You can also write any desired and fitting words across each piece of the banner. For a more delicate look, opt for fabric.
Try hanging the banner from a ceiling or draping it on the backdrop behind the subjects. They can also be hung outdoors on a tree or a fence.
5. Flower Crown
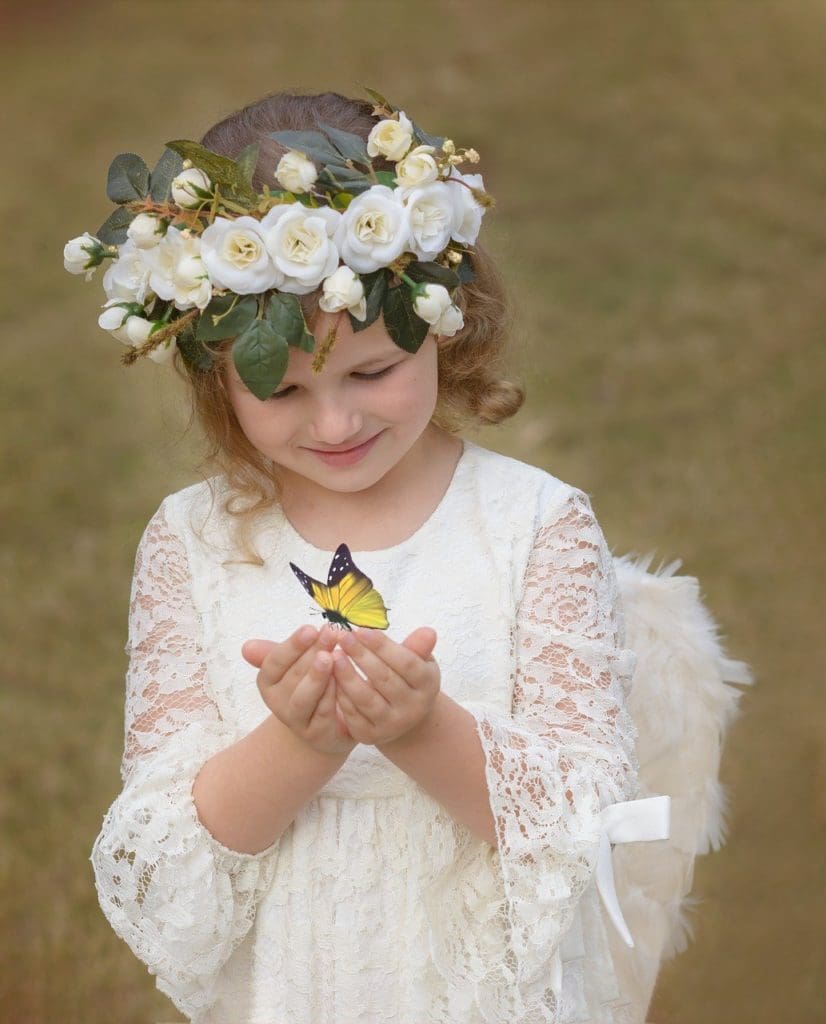
Things you’ll need:
- Flowers
- Small wire cutter
- Wire
- Floral tape
Flower crowns will perfectly do as DIY photo props to add a spring/summer feel to a photograph or a photoshoot in boho style. To make such a crown, cut the flowers from the bouquet or branches with the small wire cutter. Don’t forget to leave approximately 2-3 inches of the stem.
Then use the garden wire and measure it according to the dimensions of your or the model’s head.
To ensure that the crown is sturdy enough, loop the wire together from four to five times. Take the floral tape and wrap the final wire circle with it – this will serve as extra padding for the head’s comfort.
The next step is to place the small bouquet of flowers around the crown. Wire and tape the flowers around the crown until you are satisfied with the result.
If it is your first time making such a crown, it will be rather challenging. But once you get the hang of it, the process will become easier. Flower crowns may appear simple, but they add that elegant flair to the outdoor female portraits and lighten the overall mood.
6. Teepee
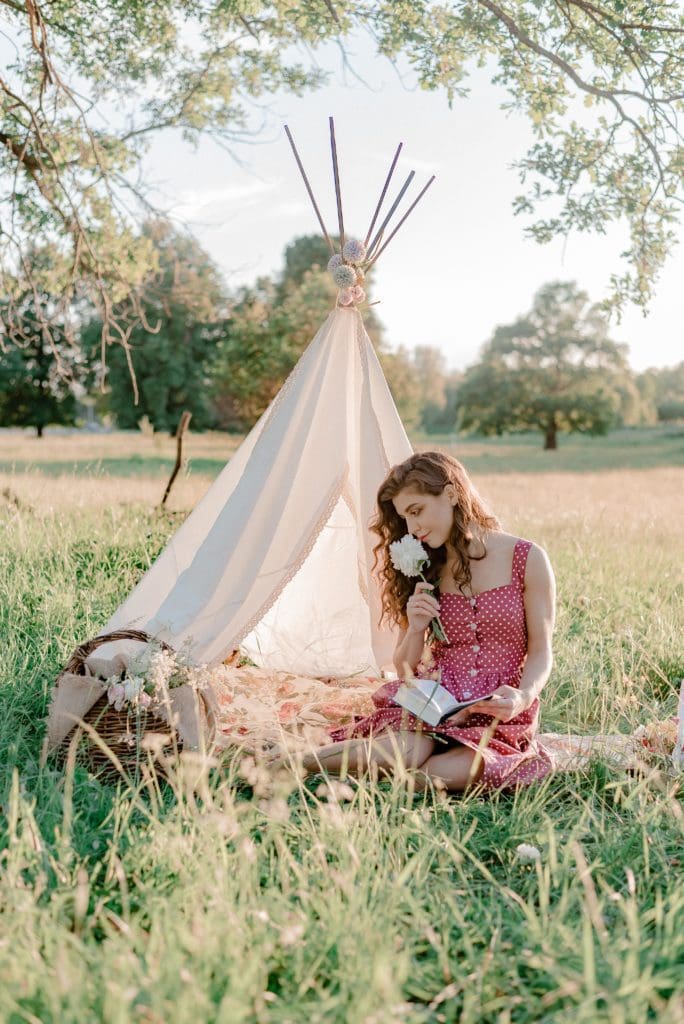
Things you’ll need:
- Sticks
- Fabric
- Rope
- Flowers (optional)
Family photographer Carina photographics says that Teepees are excellent DIY photography props for newborn and family photography. The best part about them is that teepees are fully collapsible and can easily be stored.
To create a teepee on your own, you need to first purchase four dowel sticks from a hardware store. The length and diameter of the sticks are completely up to you. Then you’ll need to drill the holes at the top of the sticks to thread you rope through. Next, tie the sticks up and spread them to create the desired height.
Depending on what size of teepee you are going for, you will need about 200 inches of fabric. For an easier version, you can simply drape that fabric around the frame. For a more complicated version, you can cut out four panels with dowel slits, and then sew them together.
After the teepee has been assembled, you can decorate it with flower pillows, and anything you can come up with.
7. Milk Baths
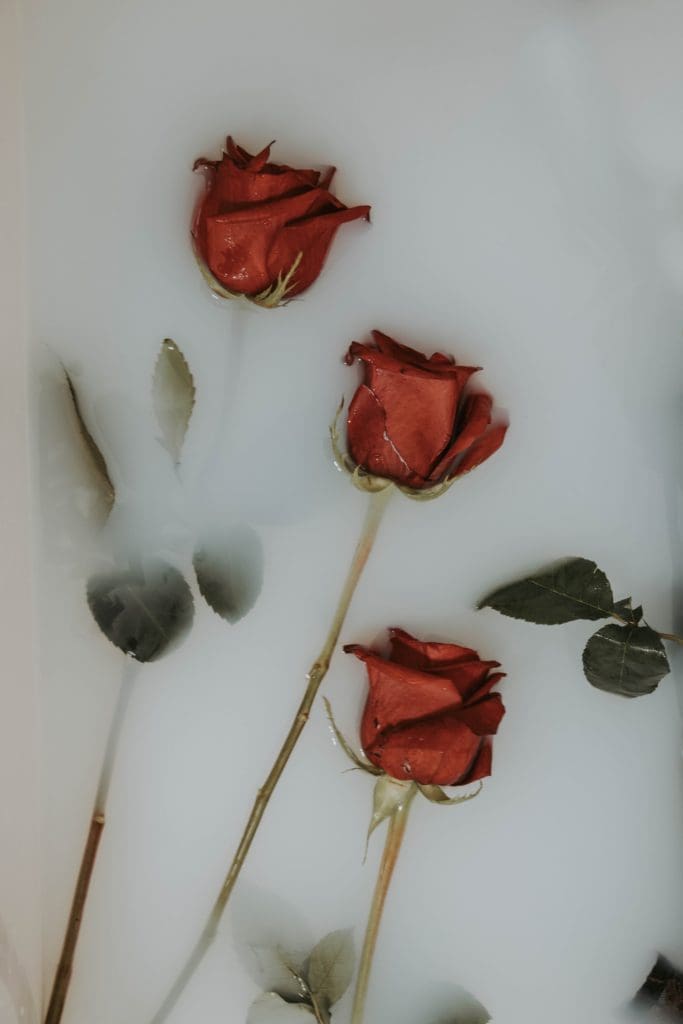
Things you’ll need:
- Milk
- Flowers/fruit
Milk baths are often used in couples, children, and maternity photography. They require a bathtub, plenty of water, and natural light, as well as milk. Try to find a place where a bathtub is located close to a big window to achieve well-lit shots.
Instead of actual milk, we suggest taking white paint or milk powder. The water should be hot enough for the powder to dissolve properly and avoid the formation of chunks. For a translucent effect, don’t put too much powder in the bathtub.
With the regular milk bath photoshoot, the main emphasis will be put on a model. You may add flowers and other decorations to give the pictures more interest, color, and visual appeal. The flowers will contribute to the dreamier atmosphere.
In case you aren’t a fan of flowers or simply can’t find any, you can replace them with pieces of fruit. Colorful fruit will greatly stand out among a white milk bath.
8. Moon
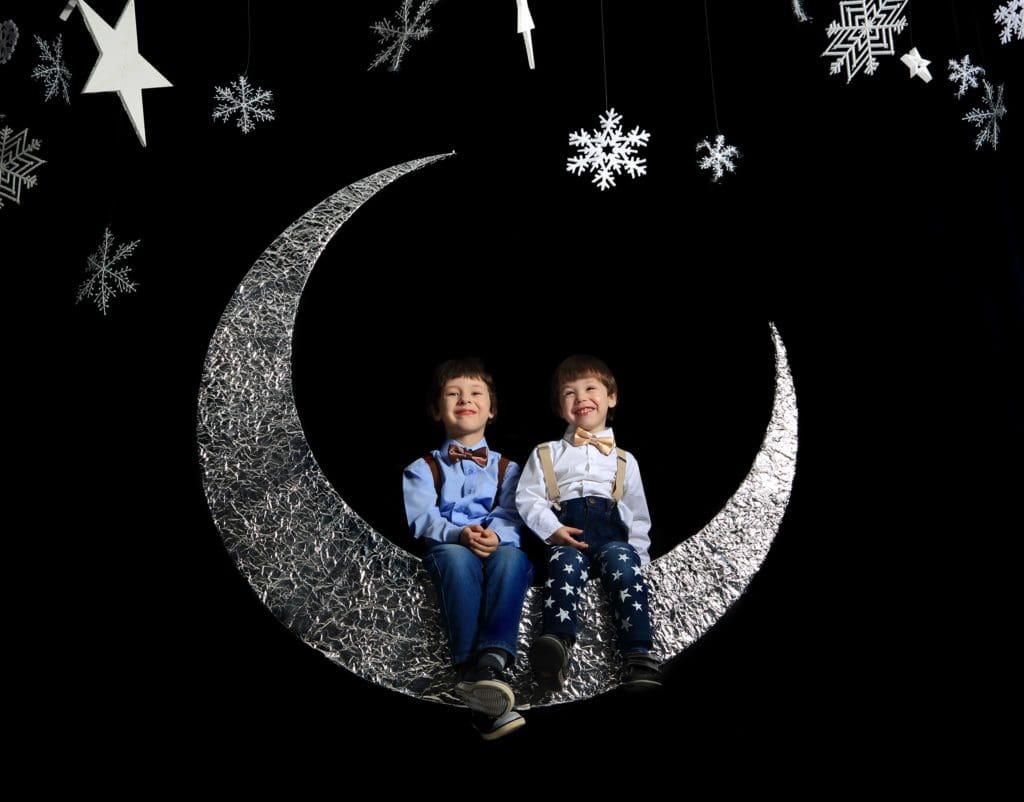
Things you’ll need:
- Wood
- Spray paint
- Blanket
- Drill
This is one of the cutest DIY photoshoot props for baby photos. Before you start making such a moon cradle, go to the craft store and buy several wooden boards. Once you have everything ready, start cutting out the two sides of the moon. Mind that they should be identical.
Then, you need to make a perch where the baby will lay and connect two sides of the moon to it.
An important thing to note here is that you need to make a wedge so that the whole thing wouldn’t accidentally tumble backward. Finally, you can cover the prop with yellow spray paint.
To protect the gentle baby’s skin, place a soft blanket or faux fur in the middle. Now you can proceed to the photoshoot.
9. Colored Paper
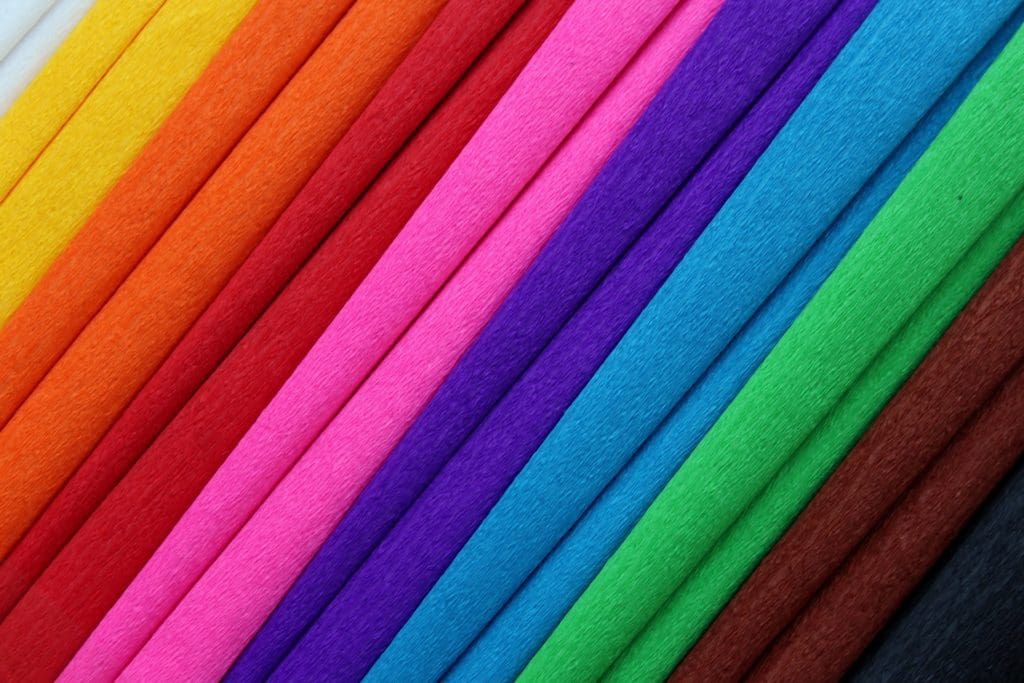
Things you’ll need:
- Colored paper/wallpaper
- Tape
In case the walls in your place look too unappealing for photoshoots, purchase several sheets of colored paper and attach them to the wall with tape. To illuminate the subject, use natural or artificial lighting.
Remember that the colored paper’s size should be quite big to properly snap both close-up and wide pictures. If you don’t want to damage the actual wall or wallpaper, replace the regular tape with washi tape.
In case you use sheets of wallpaper, the background will appear even more outstanding.
10. Colorful Balloons
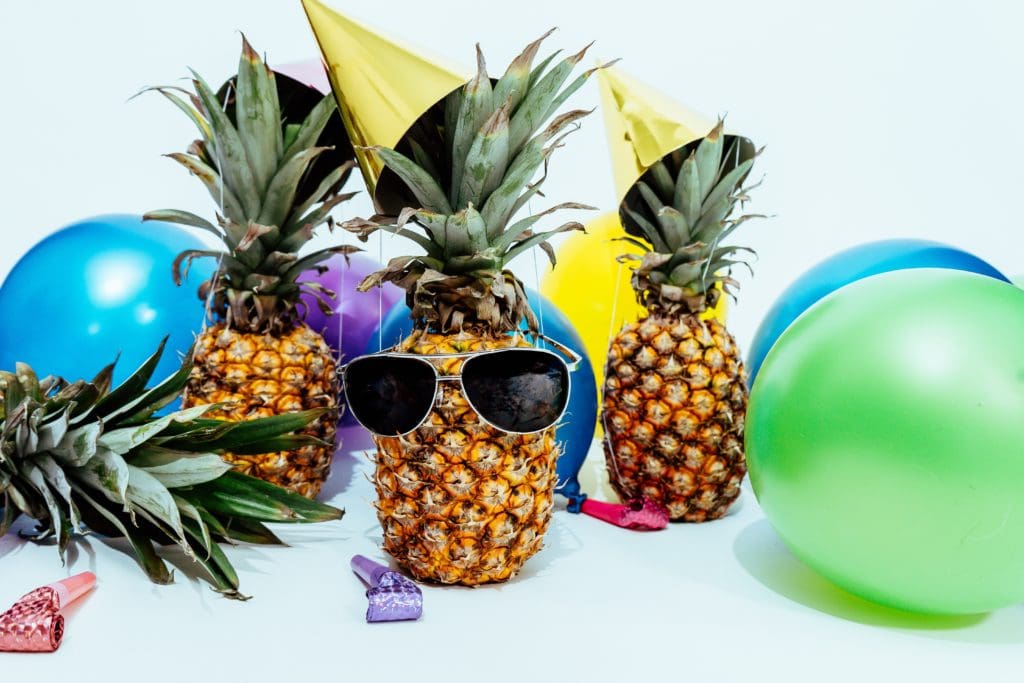
Things you’ll need:
- Balloons
Among the most widespread DIY photography props are balloons. They are long-lasting and universal. These props are perfect from all types of images: from newborn to wedding photography. The choice of balloons is quite varied – they tend to come in a vast array of sizes, colors, and shapes. Feel free to pick a single big balloon or a few smaller ones. You can also fill them with helium.
They can be used to decorate the background. Your subject can blow them, pop them, or simply hold them for a splash of color in the frame. With balloons, you’re sure to capture sincere shots with spontaneous laughter and joy.
Printable Photo Booth Props {Roundup}
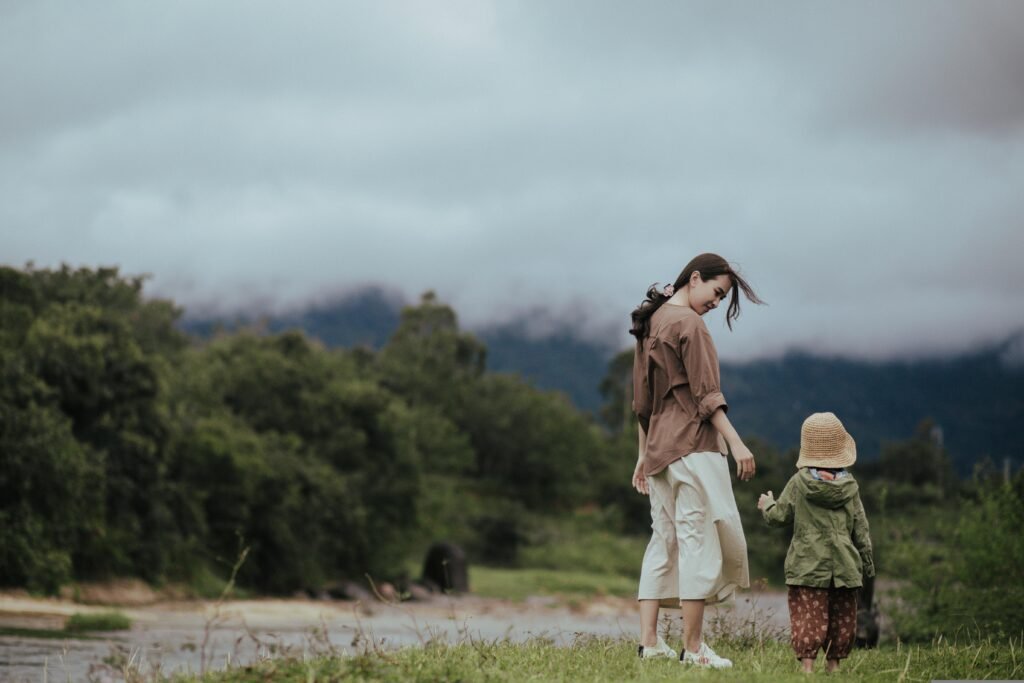
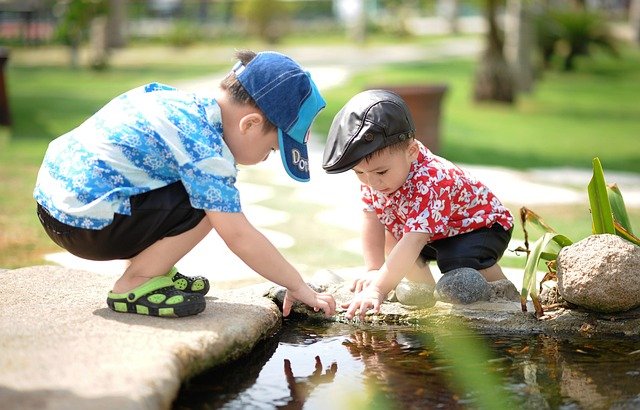
Get the kids involved. Teach them how to enjoy photography and create memories.
Featured Photo by Luis Quintero from Pexels